
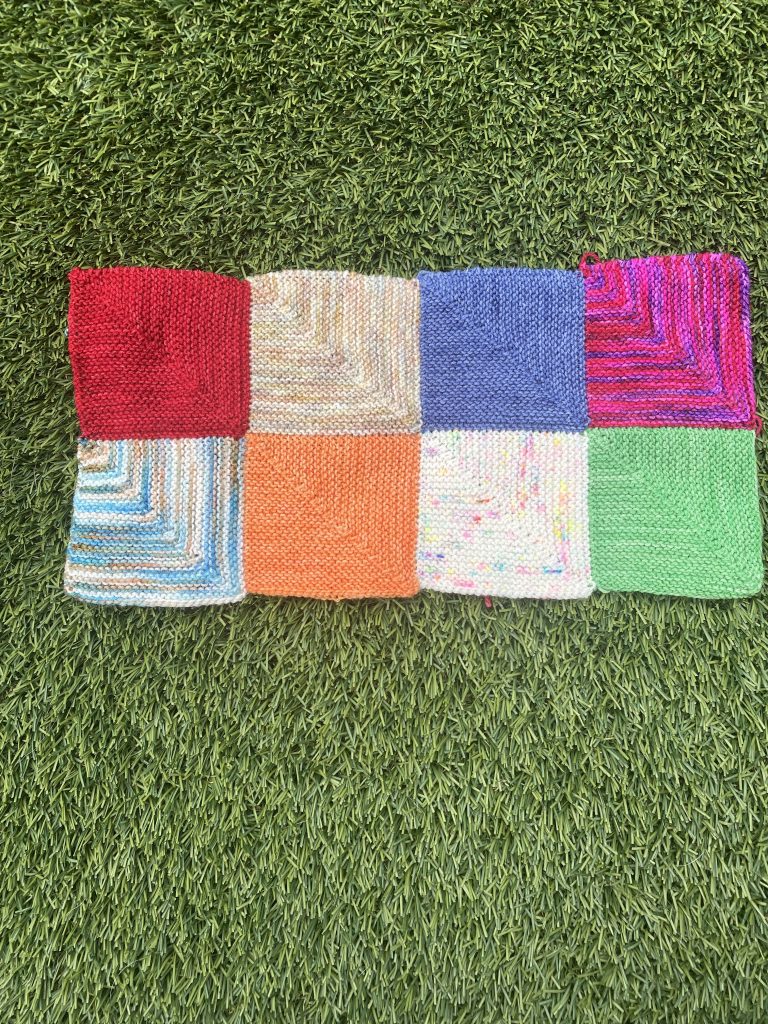
I’ve been posting daily updates of a Mitred Square Blanket on Instagram. I started with a square-a-day plan, but most days I’ve been making more than one. It’s just that easy and fun.
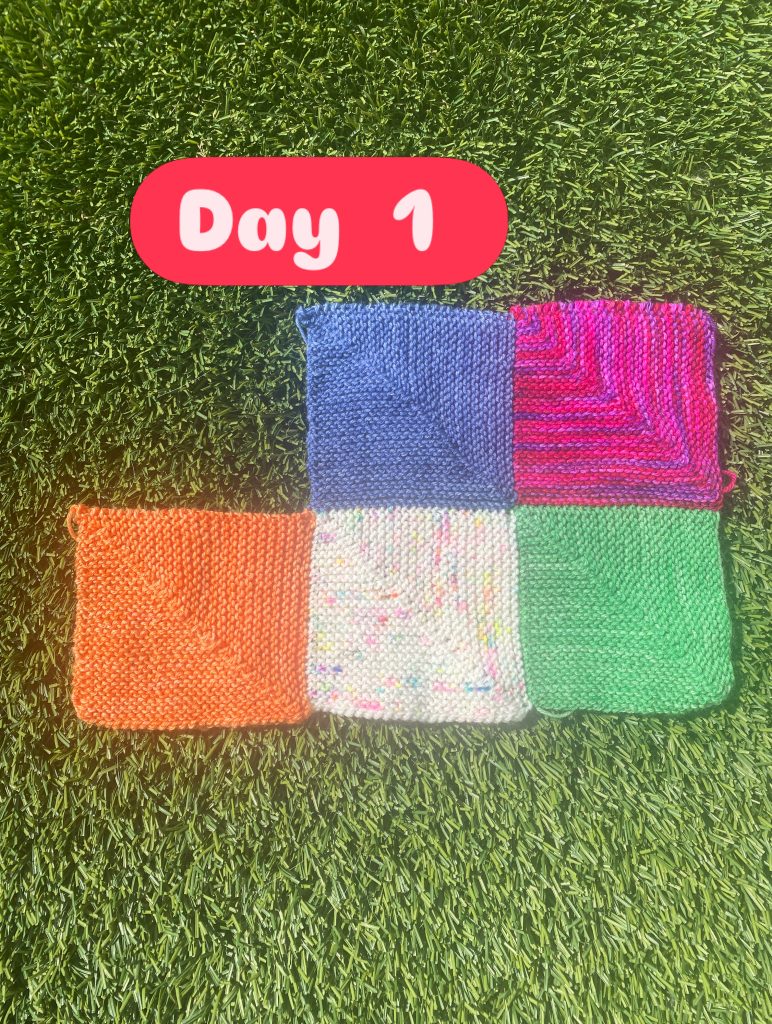
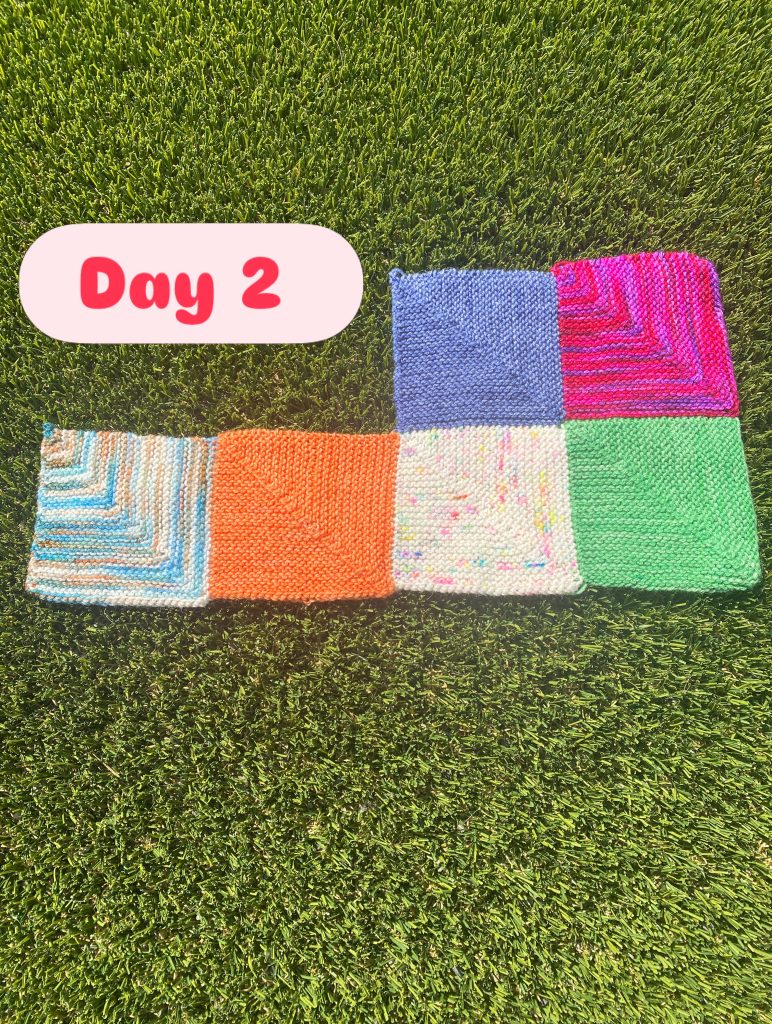
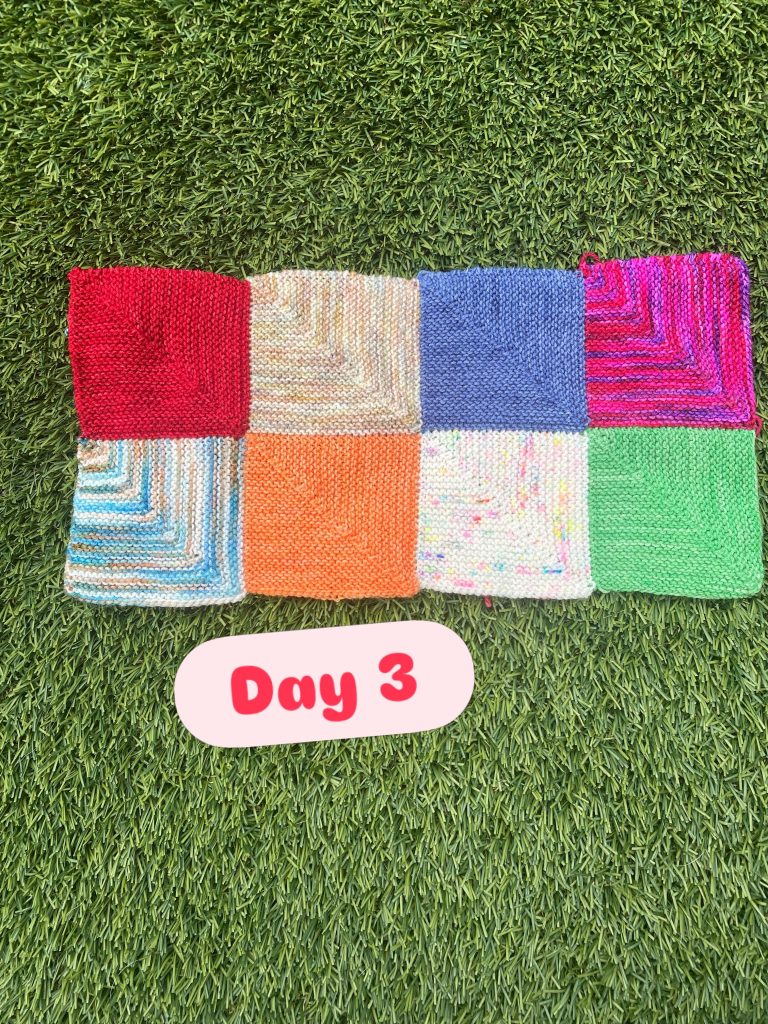
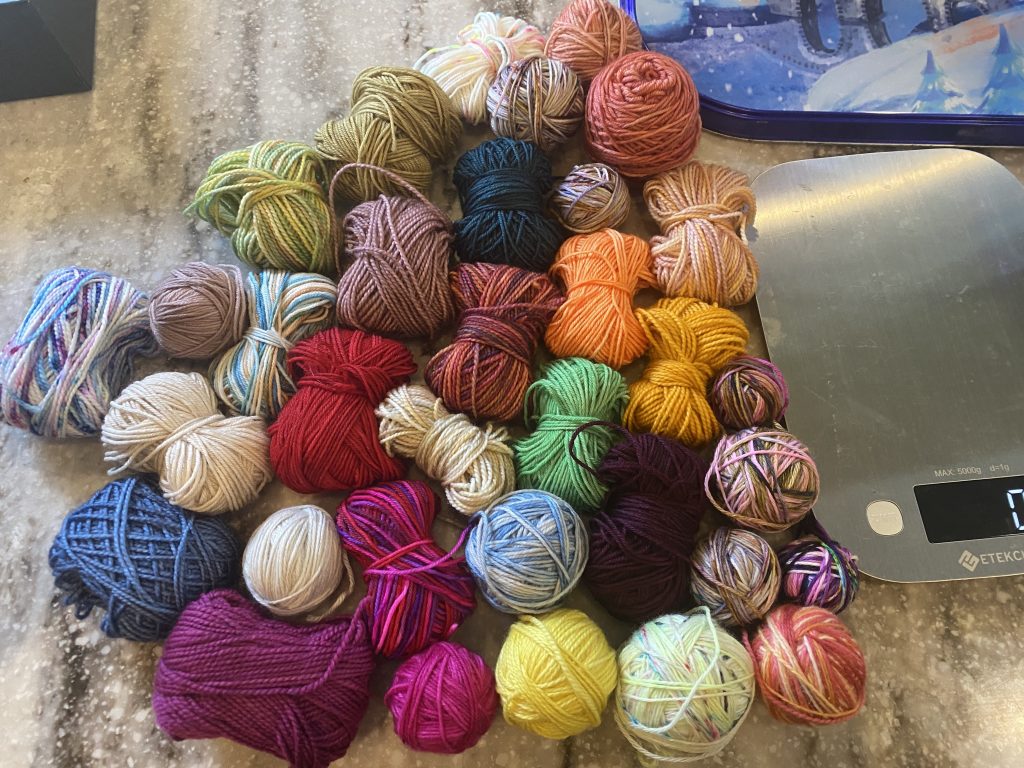
I’m using fingering weight (sock yarn) scraps that have been tucked away for awhile. The colors aren’t ones that made me jump for joy on their own, but I do like a scrappy project that uses wild and weird combinations.
There are loads of Mitred Square patterns out there, using many different methods. But, it’s fun to see how people do things, so I’ve decided to share my method here.
This tutorial will have 4 parts:
- Part 1 – The first square (you only make one of this type of square)
- Part 2 – Adding a square on the right edge, above another square
- Part 3 – Adding a square on the bottom edge, to the left of another square
- Part 4 – Adding squares to the inside, attached to 2 other squares (this one is used the most, and it’s my favorite)
What is so great about Mitred Squares
- Any weight of yarn works! Stick with the same weight for each square, but this is a perfect stash buster
- NO purling. None whatsoever. (Beginner friendly if you’re up to learning a couple new things)
- NO row counter needed. I’ve got 2 methods I’ll show you for reading your square to know what comes next.
- NO seaming. Stitches are picked up along the edges. It’s not as hard as you’d think…
- Squares can become a blanket of any size, a pillow cover, a table runner… you just keep adding until it’s the size you like.
- Color choices are limitless. Use random scraps (like I am) or alternate chosen colors if you don’t have a scrap bin.
- Each square takes less than an hour of knitting to complete. Super easy to do a square a day 🙂
What is a Mitred Square?
Mitred Squares are kind of magical to watch take shape. You start with the largest amount of stitches and decrease 2 stitches every Right Side Row until only 1 stitch remains. There are no increases to work out, just some simple math to keep track of.
Here’s the magic part ~ The stitches you cast on and knit, flat in a row, actually are the bottom and right edges of the finished square. Yes, it’s all logical and makes sense, but I prefer to enjoy the magic of watching something flat take on a square shape!
What you need to get started

- Yarn – Each square uses a small amount of yarn. Pick the weight you want to use throughout and we’ll figure amounts after you’re done with the first square.
- Needles – I use 2 Double Pointed needles. (You can use straight needles or a short circular, too)
- Fingering weight: 2.75mm / US 2.5
- DK weight: 3.75mm / US 5
- Worsted weight: 4.5mm / US 7
- Chunky/Bulky weight: 5.5mm / US 9
- Notions – Scissors, needle for weaving in ends.
- Kitchen Scale – I weigh my yarn on a simple kitchen scale. If you don’t have one of these, I recommend getting one. They are relatively inexpensive and you’ll find loads of uses for it! It’s ok if you don’t have one, but it will be more difficult to make sure you have enough yarn if you’re using scraps.
Making Square #1
Casting on…
Quick note: your squares can be any size you want! For simplicity, I’m providing details for a 3.5 inch (9cm) square using 4-5g of fingering weight yarn.
- Using long tail method, cast on 51 stitches.
- Turn and knit.
- Knit 24, Double Decrease, Knit 24 (this is the Right Side, front of the square)
- Double Decrease uses the 3 center stitches: slip 1 as if to knit, knit 2 together, pass the slipped stitch over and off the needle.
- Knit all stitches (this is the Wrong Side, back of the square)
Continue on as follows:
- (Right side) Knit 23, Double Decrease, Knit 23
- (Wrong side) Knit all stitches
- Knit 22, Double Decrease, Knit 22
- Knit all stitches
- Knit 21, Double Decrease, Knit 21
- Knit all stitches
Do you see the pattern? The center decreases are done on the right side with the center 3 stitches. Each right side row takes away 2 stitches, one from each side of the center. So you just count down until you only have 3 stitches left.
When there’s only 3 stitches left, work the double decrease (on the right side). Cut the yarn and pull the tail through the last stitch.
Make it easier to keep track of the numbers…
- Method 1: Count down the ridges starting with the first number of knit stitches per side. (shown below)
- Method 2: Count all the stitches on the needle. Subtract 3 then divide by 2 and that’s how many to knit before the decrease.
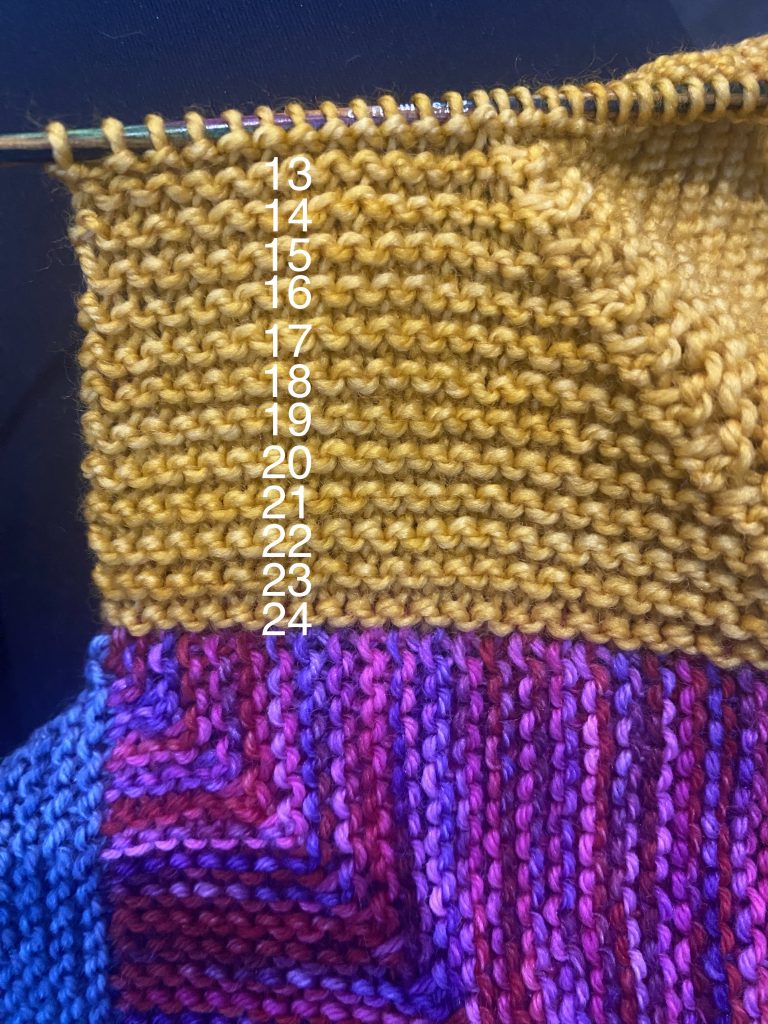
In the example pictured above, my next row will be Knit 12, Double Decrease, Knit 12.
I use Method 1 for the first half of my square, when there are a lot of stitches on the needle. I use Method 2 for the last bit of the square, when there aren’t as many stitches left to count.
Square 1 is Done – now what…
- Weigh the finished square.
- That’s the amount of yarn it used. Square 1 uses a little bit more than the rest of the squares, so as you continue, it’s a safe number to keep. Mine weighed 5g. As I went though my scraps, I weighed each one and if it was less than 5g, it didn’t make the cut. If a scrap was 15g, I can use it for 3 squares! See how that works?
- Measure the finished square.
- My example measures 3.5 inches (9cm). Use this if you’re planning a specific size blanket. Let’s say you want to make a little baby blanket, 35×35 inches (about 90x90cm). Now you know you’ll need 10 squares x 10 squares (100 squares). Keep in mind this is garter stitch, so it will have some stretch ~squish~ to it in the end.
- Plan your total yarn amount.
- Each of my squares uses 5g of yarn. If I’m making 100 squares, I’ll need 500g of yarn total!
- Plan for time (if it’s a project with a deadline).
- Let’s stick with my baby blanket example. Say baby is due in 3 months. For 100 squares, you’ll need to do 1 square per day (about an hour) with a few extras added in to keep up. If you’re making it for your own little bundle and have 20 weeks to go, you’ll need to knit 5 squares per week to keep up. 100 squares doesn’t sound so daunting once you break it down like this, and I find it helpful to count my total squares, much easier to calculate time than a ‘regular’ blanket.
Full disclosure for using scraps… Yardage/Meterage actually matters more than weight. The same length of wool, cotton, or acrylic all weight different amounts. And there are different thinness/thickness to yarns even in the same weight category. But I am definitely not interested in measuring out 20+ yards/meters of each scrap to figure out the exact length. Weight may be less than 100% accurate, but it’s a convenient tool for planning.
Leave a Reply