
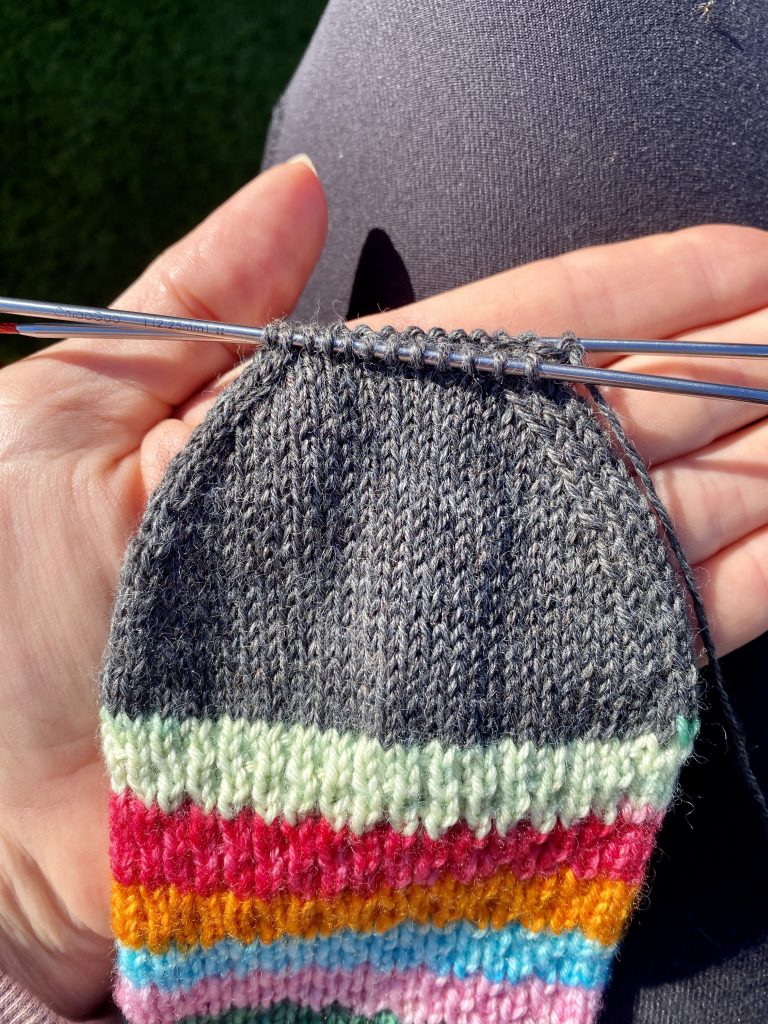
This toe has become my favorite of all the toes out there. It’s the result of many trials (and some errors)staggering the decreases to get the best shape.
I always liked the simplicity of a wedge toe, but I also liked the elongated shape of a star/round toe. Playing with the maths, I came up with this shape and I love it. It fits great and looks nice too!
The shaping is a little different for each of the sizes, so please note which stitch count you’re beginning with and look for the instructions specific to your size.
Getting Started
When the sock is about 2 inches (8cm) shorter than the total desired length, it’s time to begin the toe.
Main Color Toe: Knit 1 round.
Contrast Toe: Break your main color yarn, leaving a tail to weave in later. Add the contrast yarn and knit 1 round.
Don’t worry that the beginning of the round seems sloppy where the new color is joined. Snug the tails and we’ll tidy up that stitch later.
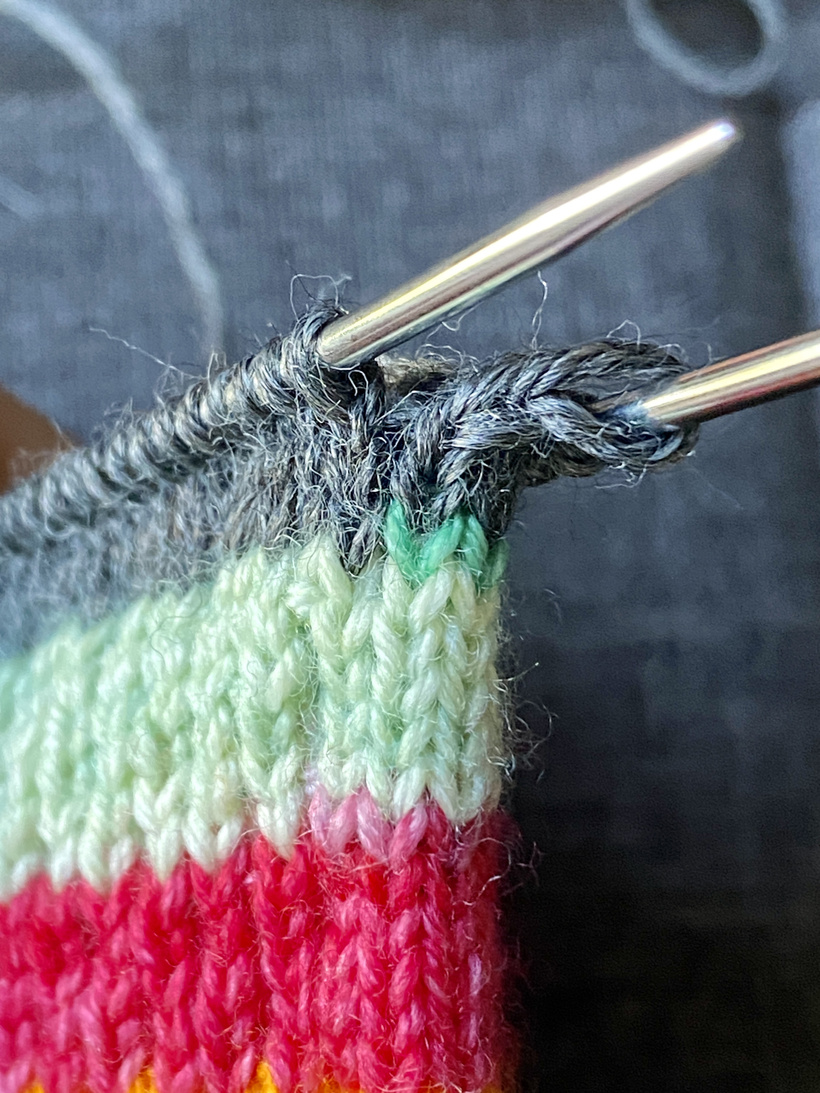
Note for self-striping yarns: I wanted to start the toe after the mint green stripe, but I needed a few more rounds for length. To do this, I added my contrast color and knit 4 rounds before beginning the toe decreases.
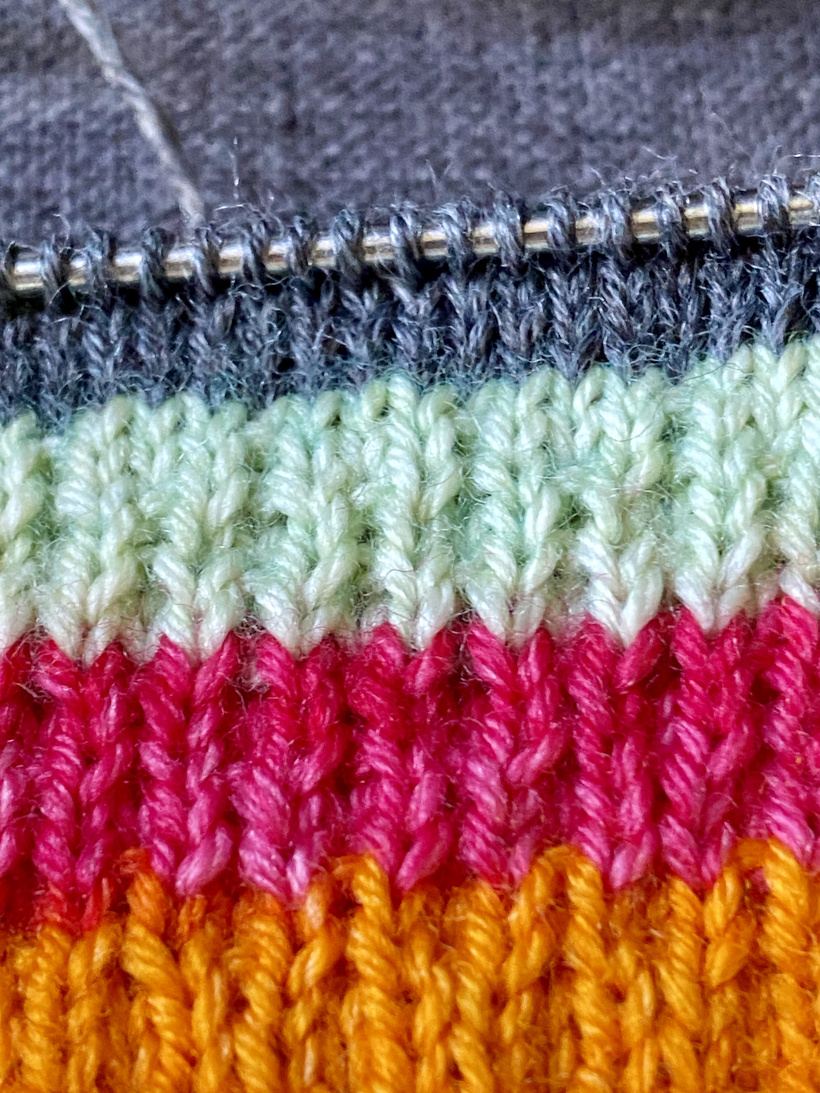
Decrease Rounds
I’m working my socks with MagicLoop and instructions are provided for that method. If using DPNs, understand front and back needles means the front half and back half of the stitches.
Decreases are worked the same on the front and the back of the toe.
K1, SSK, knit to last 3 stitches on front needle, K2tog, K1 ~ repeat on back needle.
4 stitches are decreased with each decrease round (2 stitches from each needle).
The decreases aren’t tricky and it’s easy to memorize. The magic of this toe comes from the knit rounds between.
Extra knit rounds between the decreases create a gradual slope at the beginning…
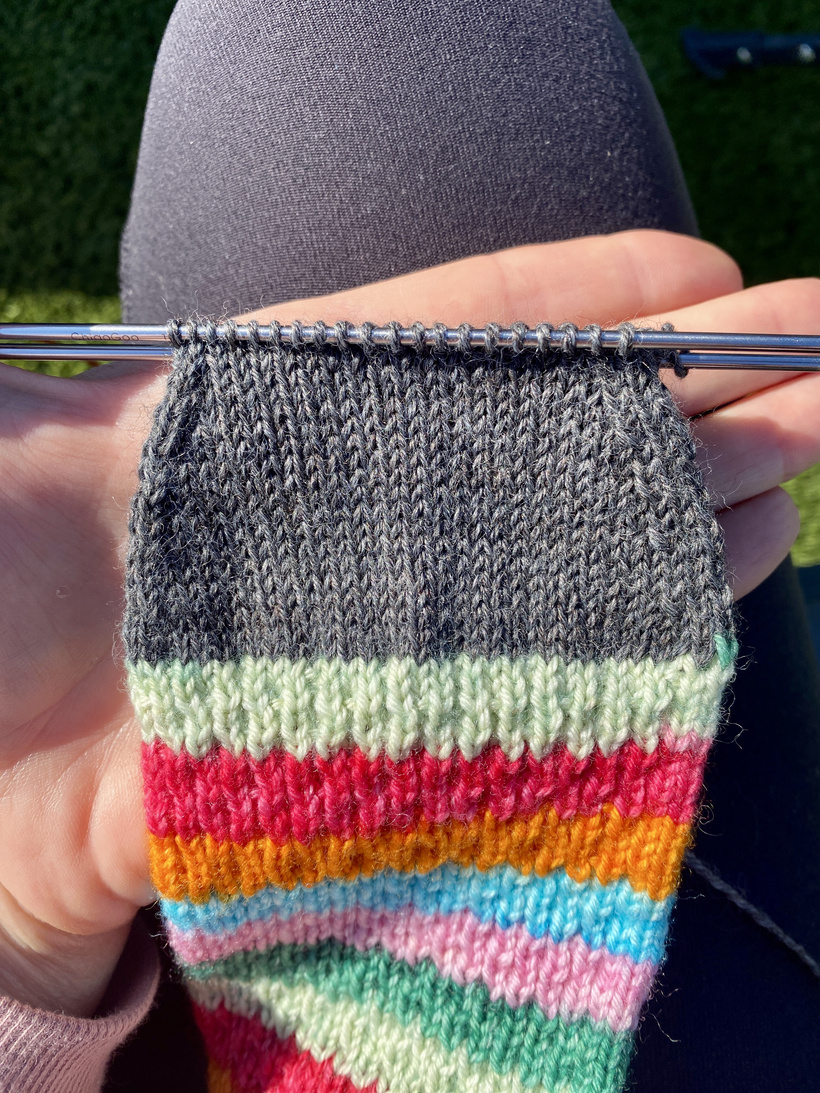
Then decreases every round pull the toe together at the end where the remaining stitches will be grafted together.
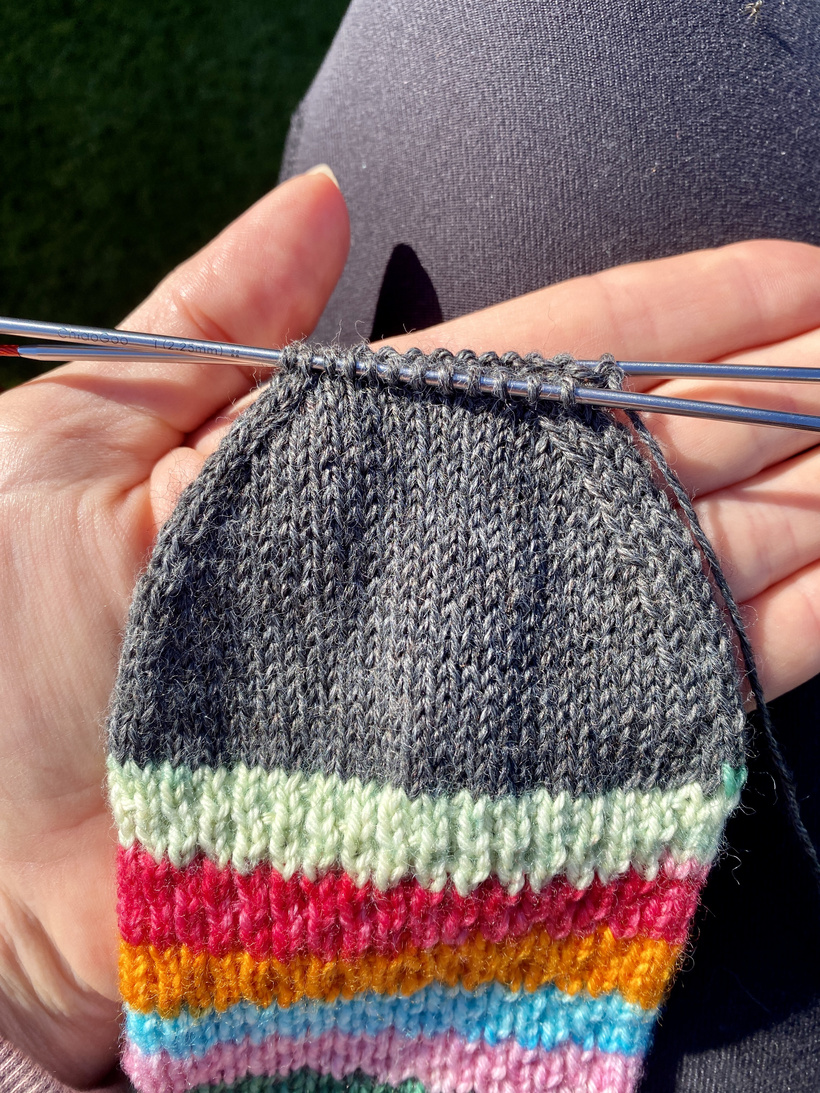
I love the shape! I hope you do too 🙂
Find Your Size and Begin!
Small (56 sts)
- Decrease round (52 sts)
- Knit 3 rounds
- Decrease round (48 sts)
- Knit 2 rounds
- Decrease round (44 sts)
- Knit 2 rounds
- Decrease round (40 sts)
- Knit 1 round
- Decrease round (36 sts)
- Knit 1 round
- Decrease round (32 sts)
- Knit 1 round
- Decrease round (28 sts)
- Decrease round (24 sts) The remaining stitches (12 each needle) are grafted together to close the toe.
Medium (64 sts)
- Decrease round (60 sts)
- Knit 3 rounds
- Decrease round (56 sts)
- Knit 2 rounds
- Decrease round (52 sts)
- Knit 2 rounds
- Decrease round (48 sts)
- Knit 1 round
- Decrease round (44 sts)
- Knit 1 round
- Decrease round (40 sts)
- Knit 1 round
- Decrease round (36 sts)
- Decrease round (32 sts)
- Decrease round (28 sts)
- Decrease round (24 sts)The remaining stitches (12 each needle) are grafted together to close the toe.
Size Large (72 sts)
- Decrease round (68 sts)
- Knit 3 rounds
- Decrease round (64 sts)
- Knit 2 rounds
- Decrease round (60 sts)
- Knit 2 rounds
- Decrease round (56 sts)
- Knit 1 round
- Decrease round (52 sts)
- Knit 1 round
- Decrease round (48 sts)
- Knit 1 round
- Decrease round (44 sts)
- Decrease round (40 sts)
- Decrease round (36 sts)
- Decrease round (32 sts)
- Decrease round (28 sts)
- Decrease round (24 sts) The remaining stitches (12 each needle) are grafted together to close the toe.
My tips and tricks
Looking for the SSK
As I mentioned before, I prefer to read my knitting rather than use a row counter whenever possible. Here’s how I do it with the toe.
The ssk stitch is easy to see (just like on the gusset). I look for it when I start a round to see how many knit rounds I’ve worked since the decrease.
Sorry for the grey color… I know it’s a bit trickier to see. The gusset decrease post herehas better pictures if needed.
Can you spot the ssk? It’s always going to be the 2nd stitch in. I worked 3 knit rounds after the last decrease in this picture.
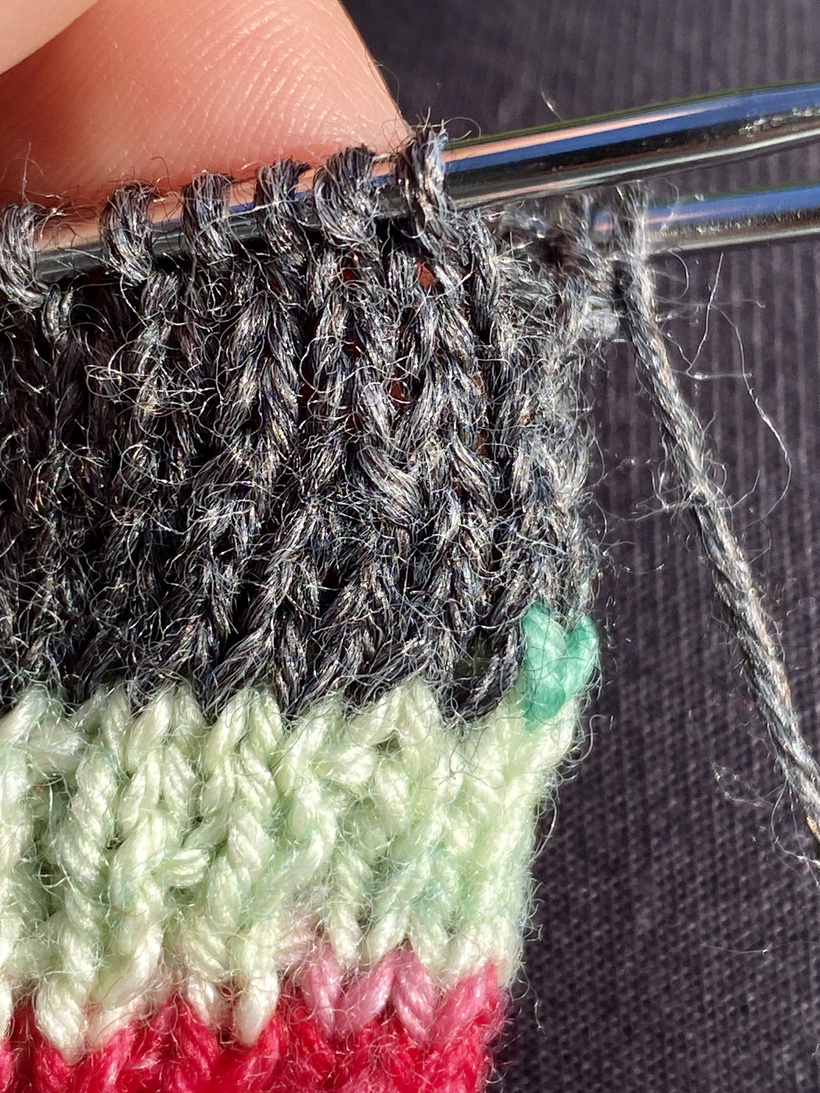
My needle is under the ssk stitch in this picture.
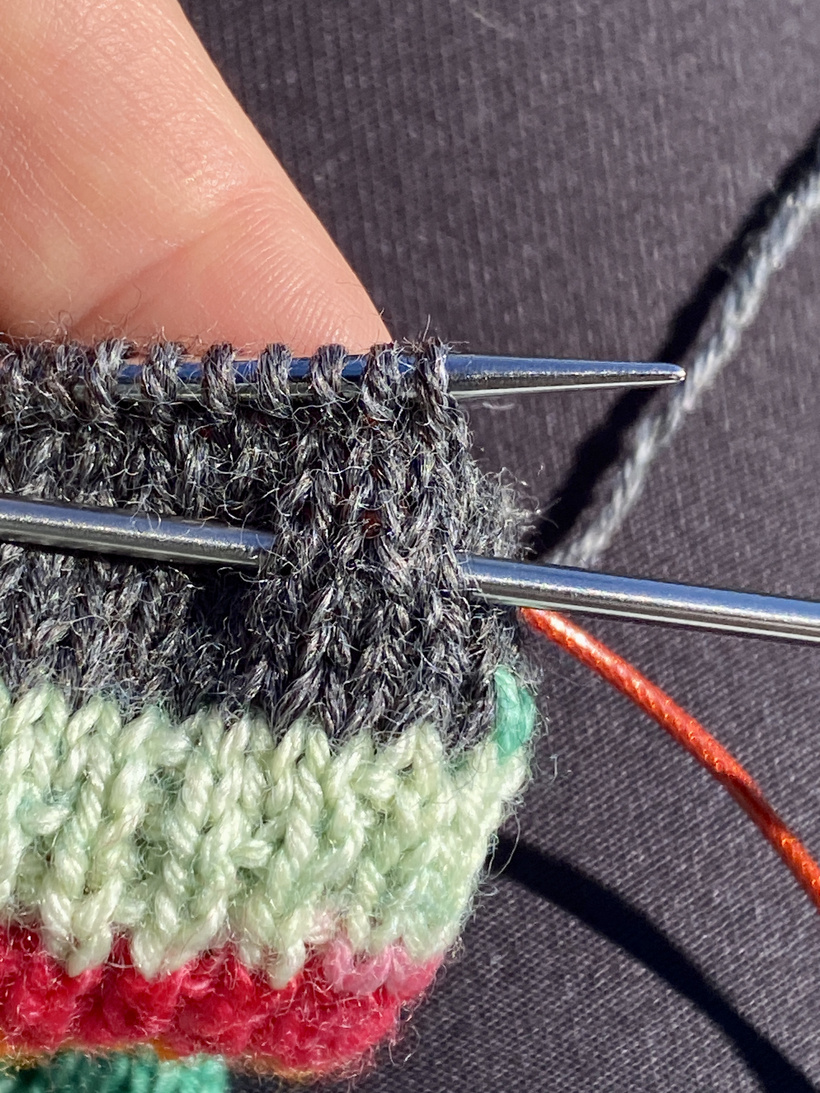
It’s that extra wrap on the left side of the V that I look for. Of course, you can always count rows with a counter, I just like sharing the tips I’ve learned over the years.
Working the K2tog
The stitches at the end of the needle can become tight when there aren’t any knit rounds between the decreases. It makes it tough getting the needle into them to work the k2tog.
My trick is to use the right needle and pull second to last stitch just a little to stretch it out. This makes it easier to get the needle through both stitches for the k2tog.
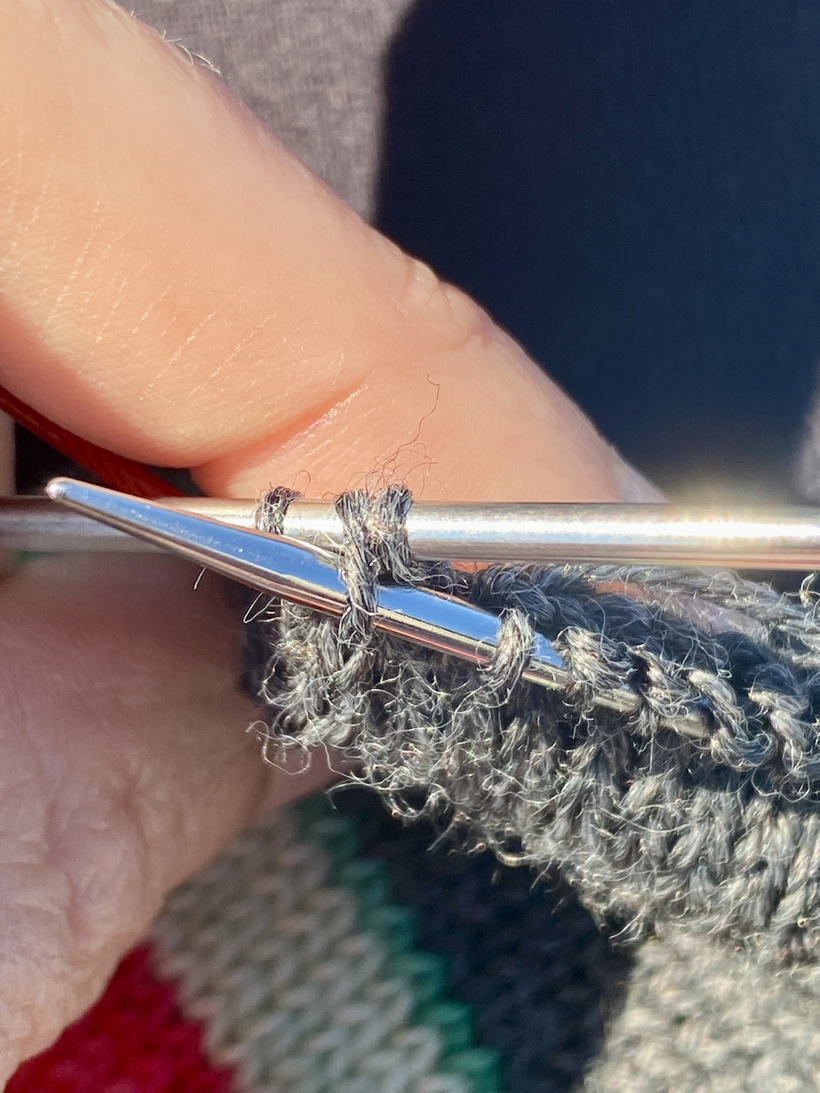
Thats my favorite sock toe, start to (almost) finish! I hope you enjoy working through it. The last step will be grafting the final stitches and weaving in the ends.
~Lisa
Enjoying making your socks? Join my Socks & Sweaters group for more patterns and tutorials!
Leave a Reply