
Adding a Square Above
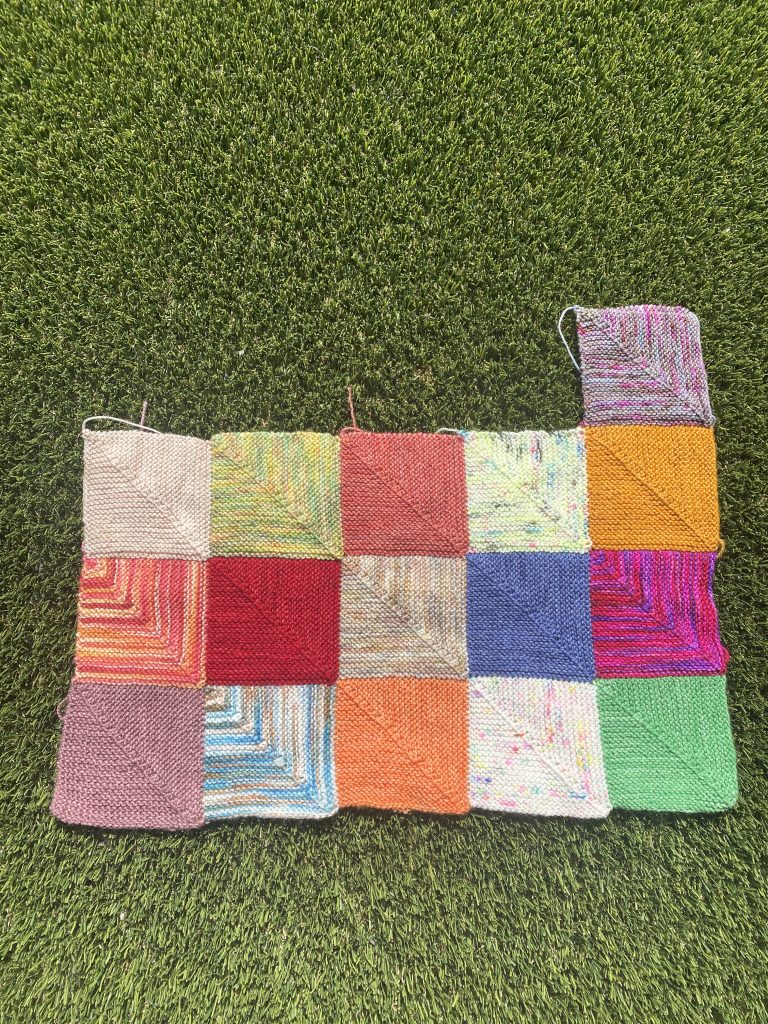
This method is used for the whole of the right side of your blanket. You can make a long strip the length of your desired finished item, or add as you go, which you can see I am doing here.
Casting On
Our squares in this pattern start with 51 stitches. That’s 25 each “side” with 1 stitch in the center. We need to start by casting on the 25 stitches that will be part of the right border.
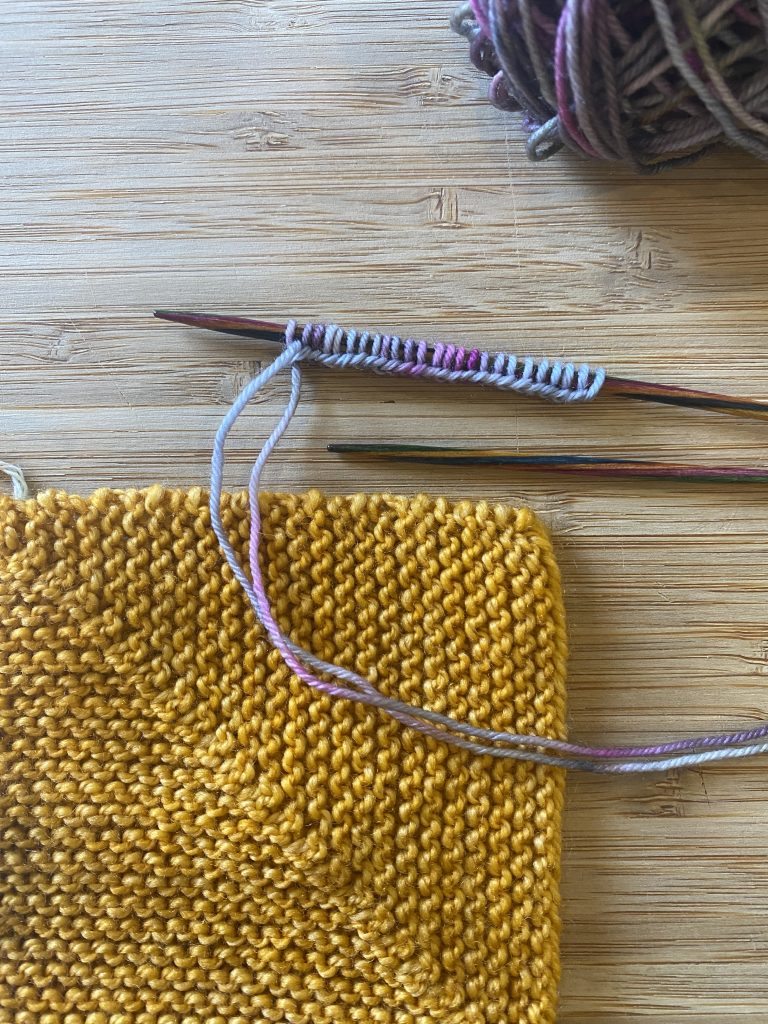
Using long tail cast on method, cast on 25 stitches (that’s one side). Then we’ll pick up the remaining 26 stitches from the block below. (1 for the center and 25 for the other side)
Picking Up Stitches
This sounds harder than it is if you haven’t done it before. It’s a great technique to learn so you can avoid seaming later on.
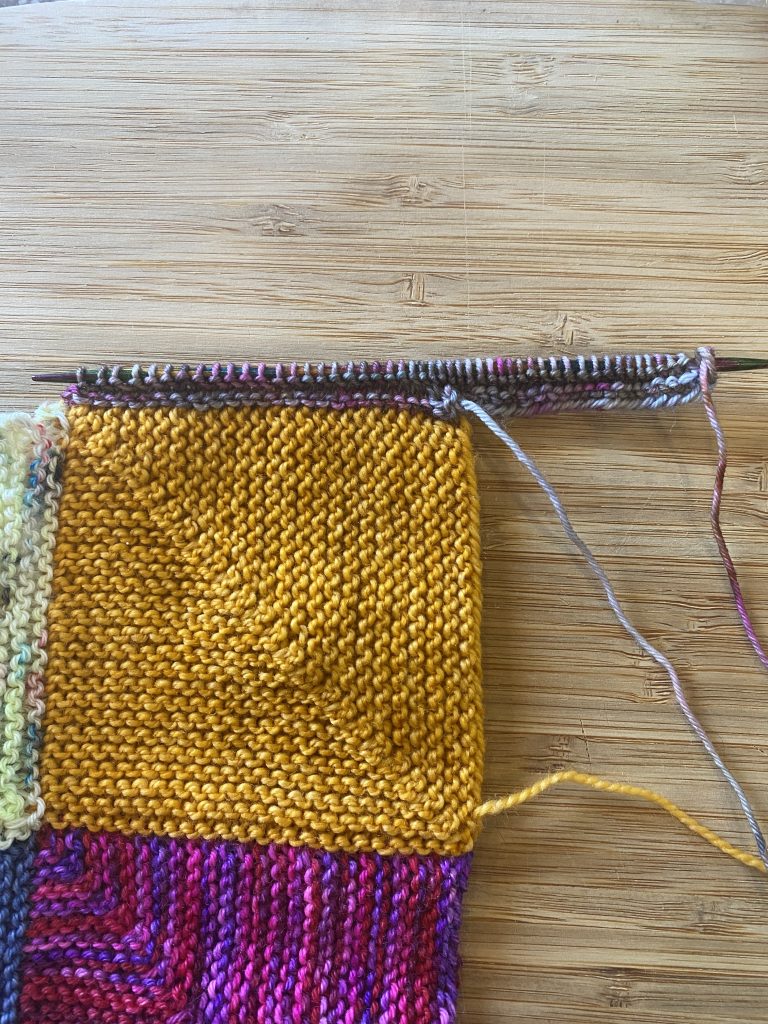
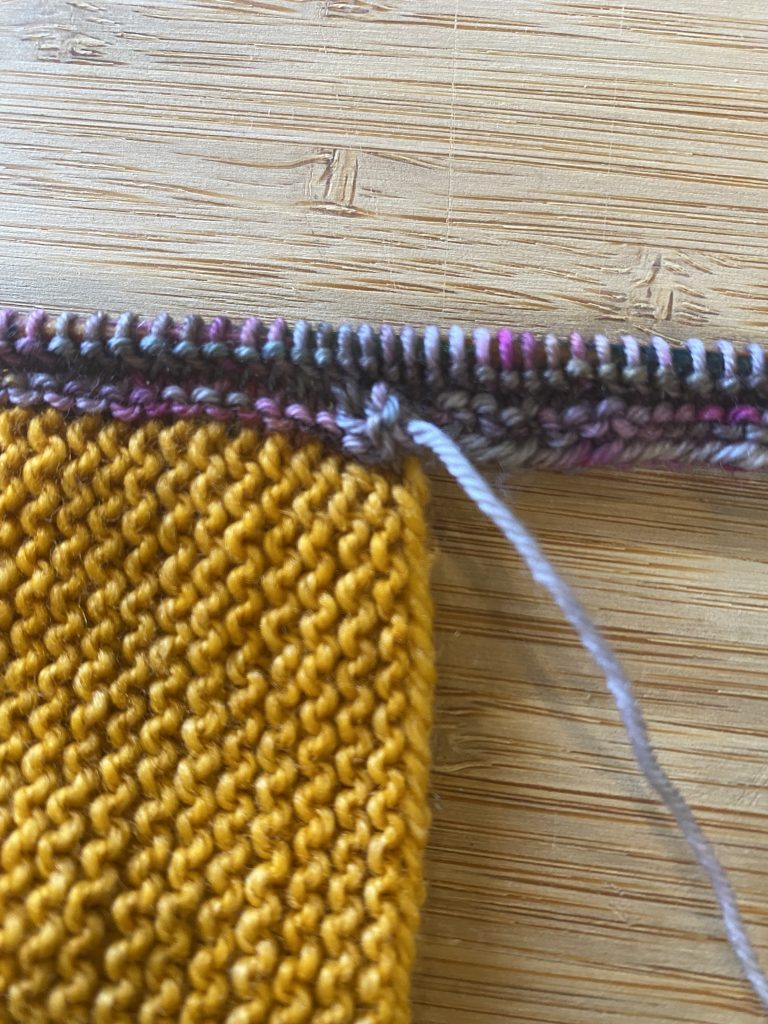
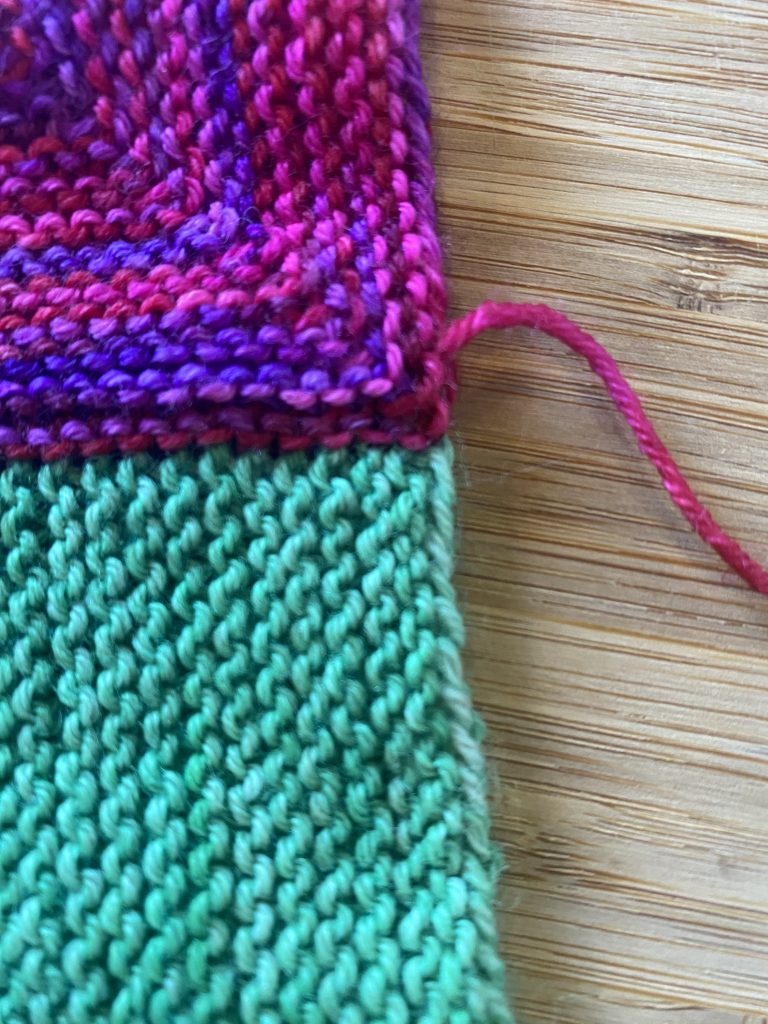
The 1st stitch (center stitch of our 51 total) needs to be picked up from the cast on edge of the lower block. Here’s a close up of what it will look like. Feel free to get your magnifying reader glasses and neck light out the first time you do this.
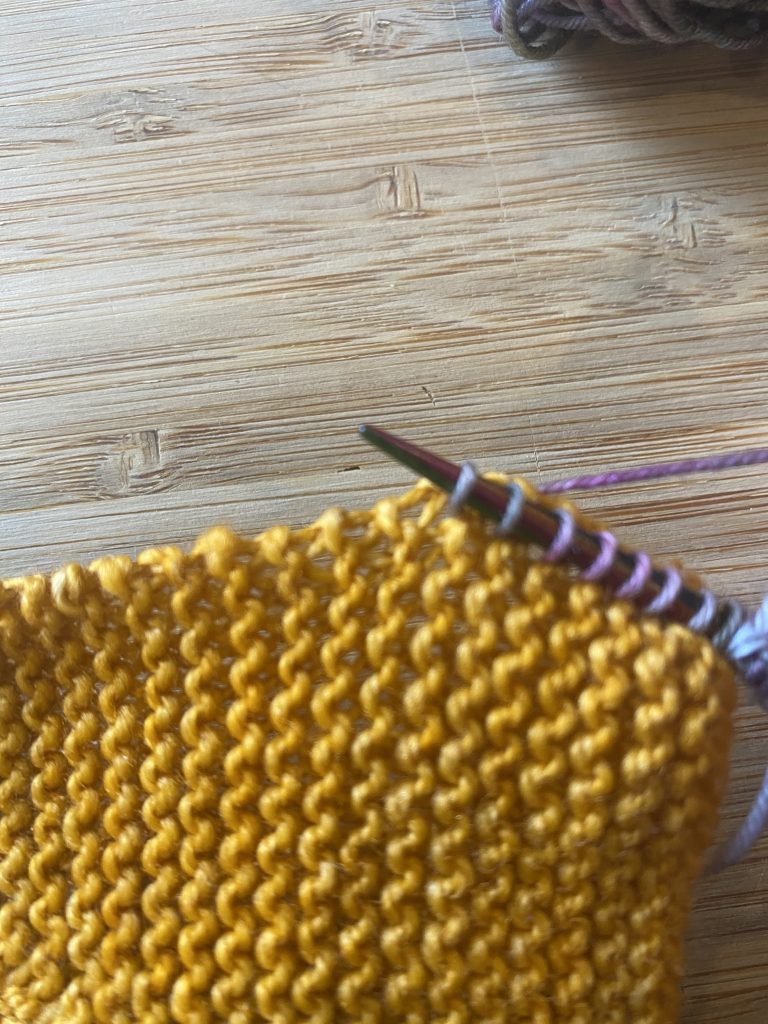
In the first couple images with a single needle, I find the 1st place to pick up a stitch along the garter edge. It’s located between those first 2 ridges. That will be the first of the 25 stitch pickup, NOT the center stitch from the cast on edge.
See the single needle marking the 1st ridge pickup, then the 2nd needle with the newly cast-on stitches, sliding into the V below.
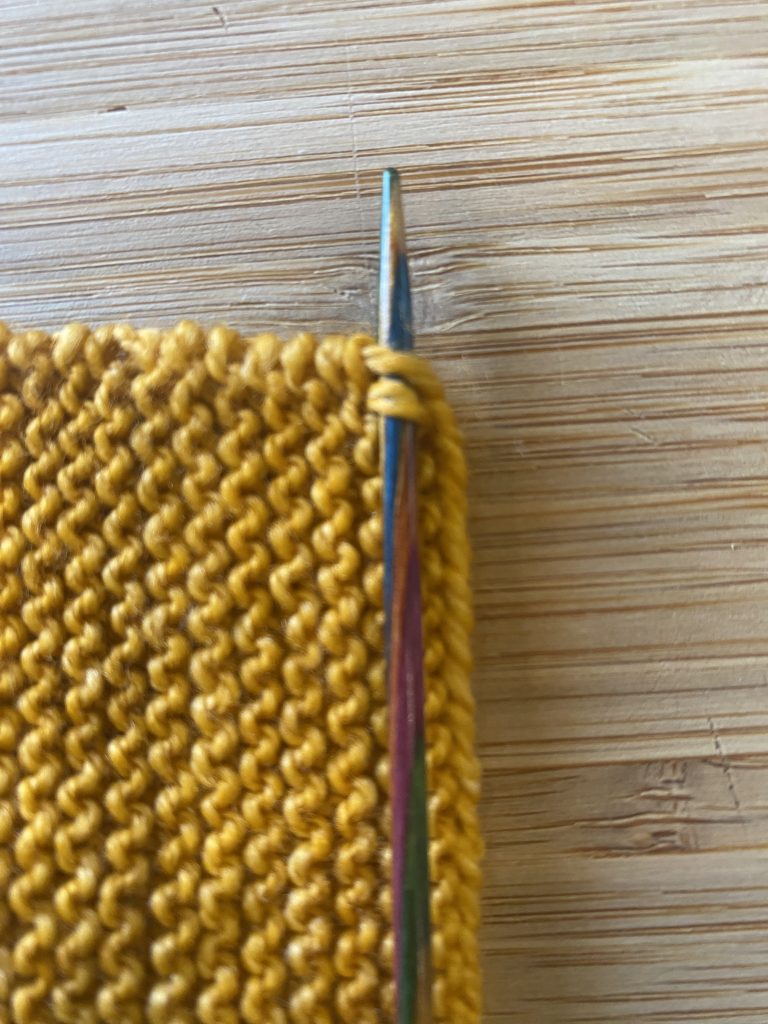
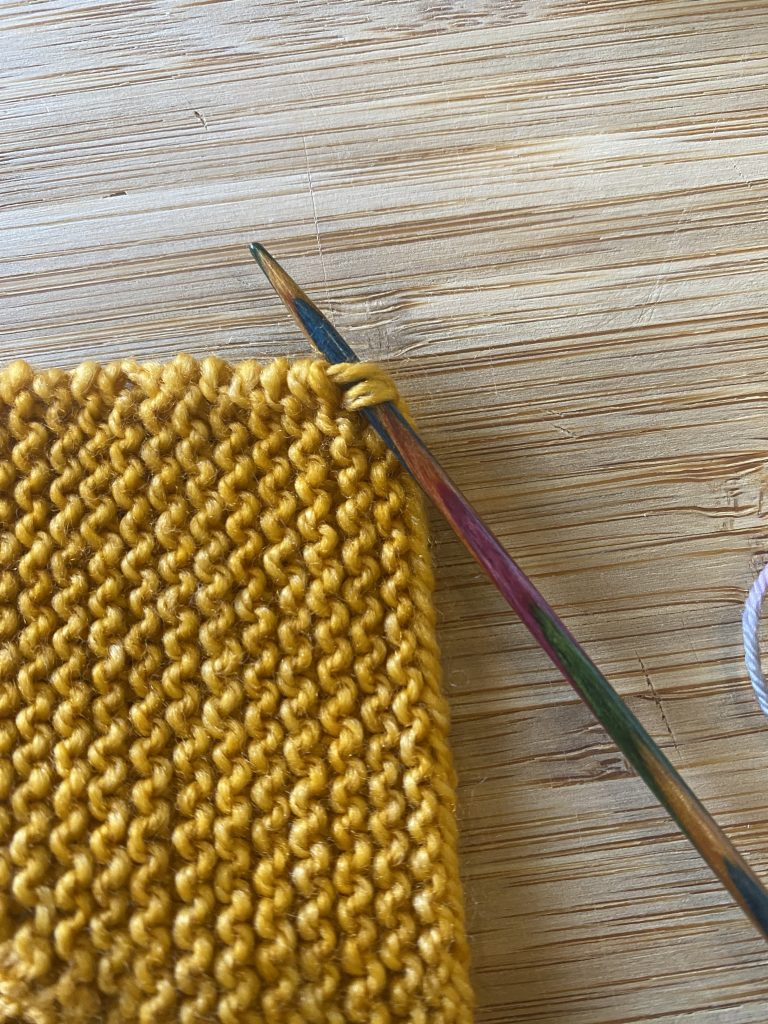
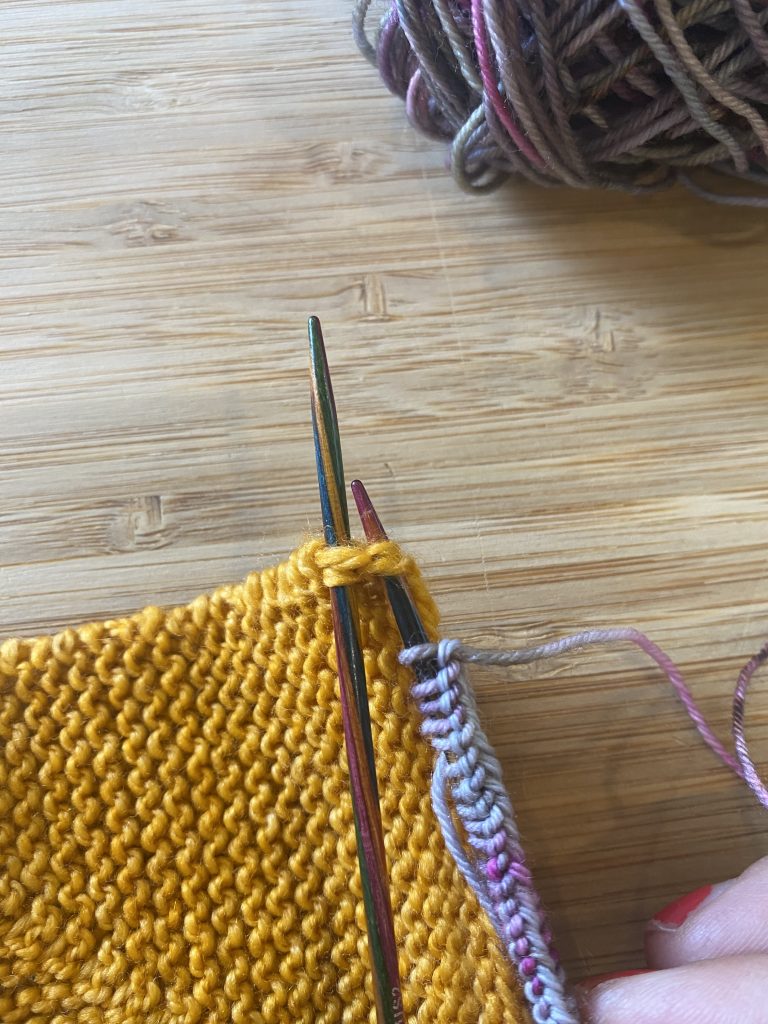
That is our center stitch pickup!! So let’s do this…
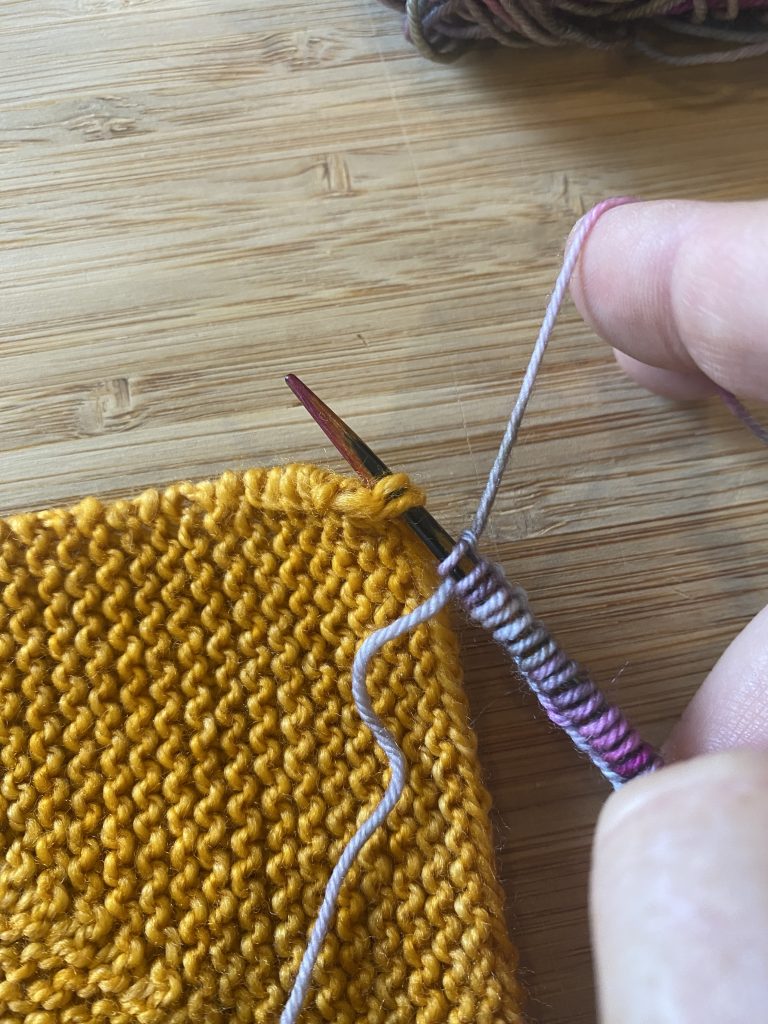
That’s it. Insert the needle, wrap and pull the stitch through. You can see it is separate from the garter ridges. It’s our center stitch. It’s special and looks a little odd now but it will all work out later on.
Picking up along the garter edge
The rest of the 25 stitches we need to pick up will come from the V’s between the garter ridges. Make sure you get under both strands of yarn to ensure it’s a stable pickup (no gaps later).
Pull your block sideways to see more easily where to insert your needle for the pickup. And keep going along, 1 stitch between each ridge.
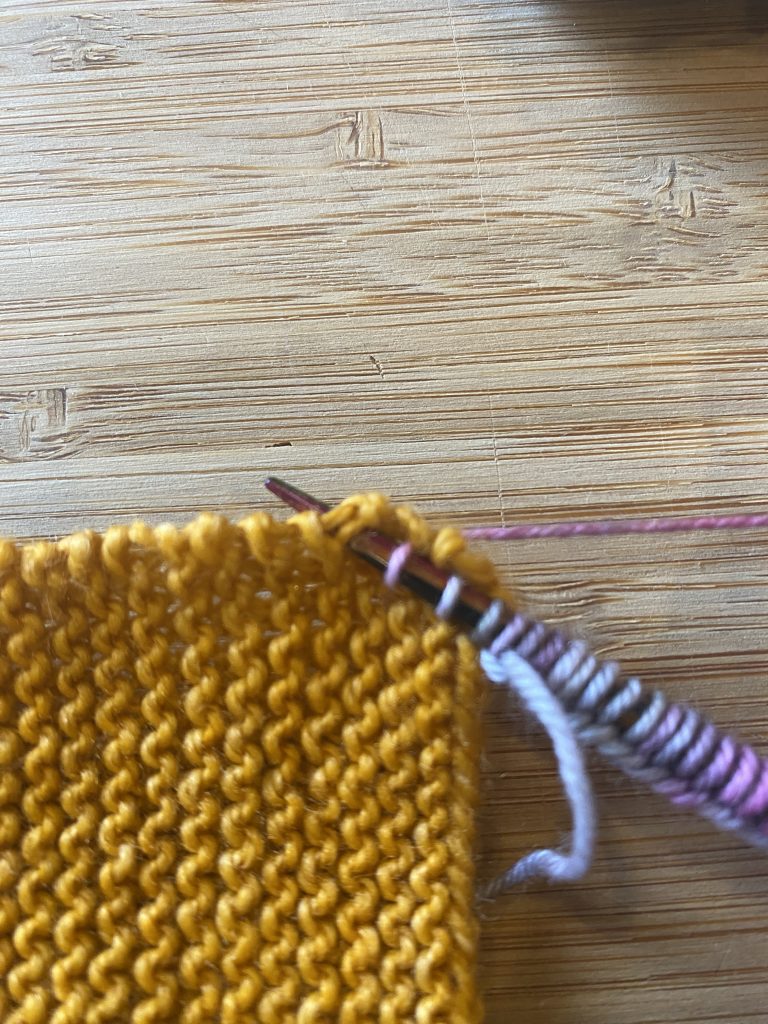
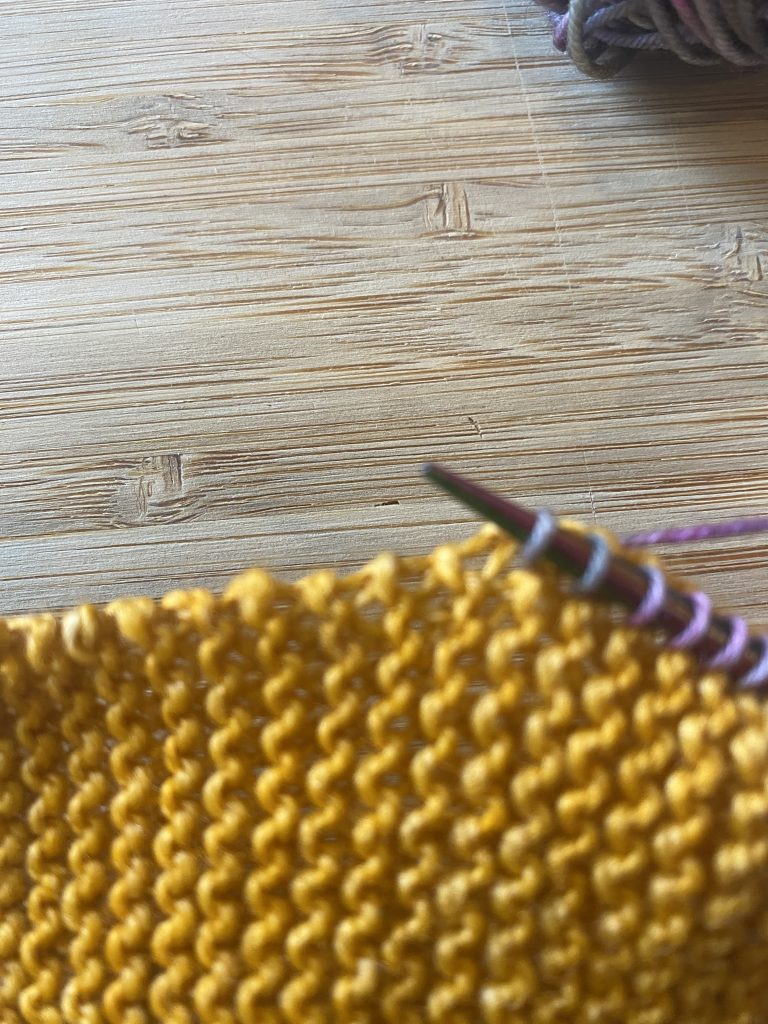
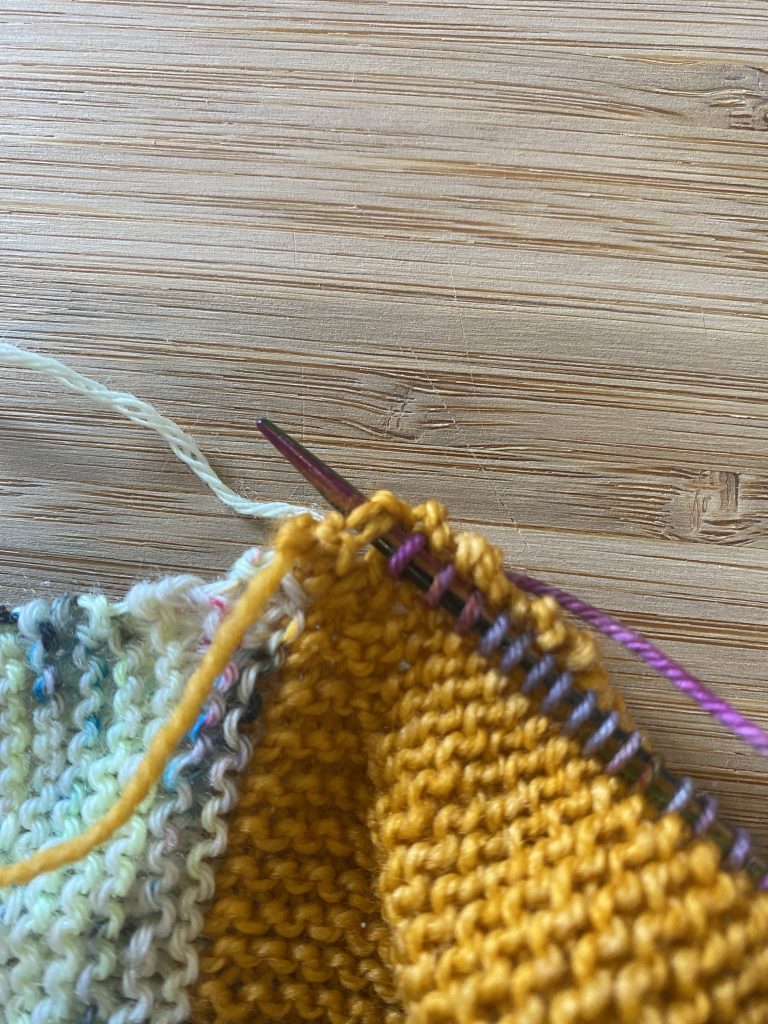
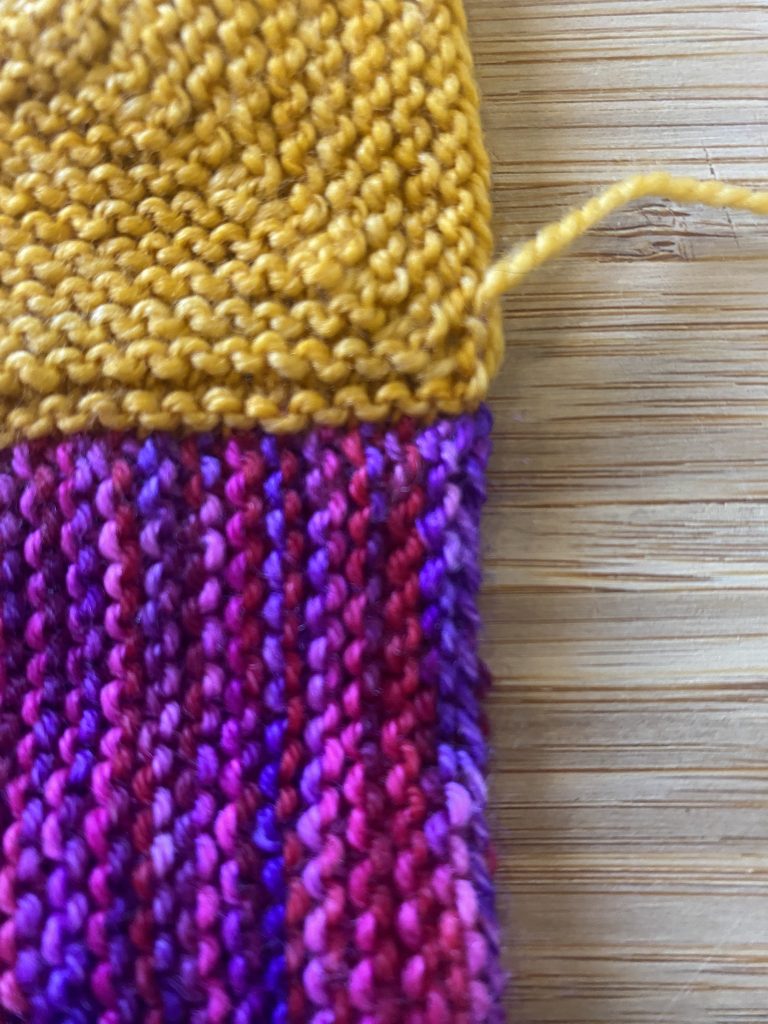
That’s the last V , but you need 1 more stitch to complete your 51 total. It will come from the opposite side of the knot from the finished square below.
Here’s how that looks:
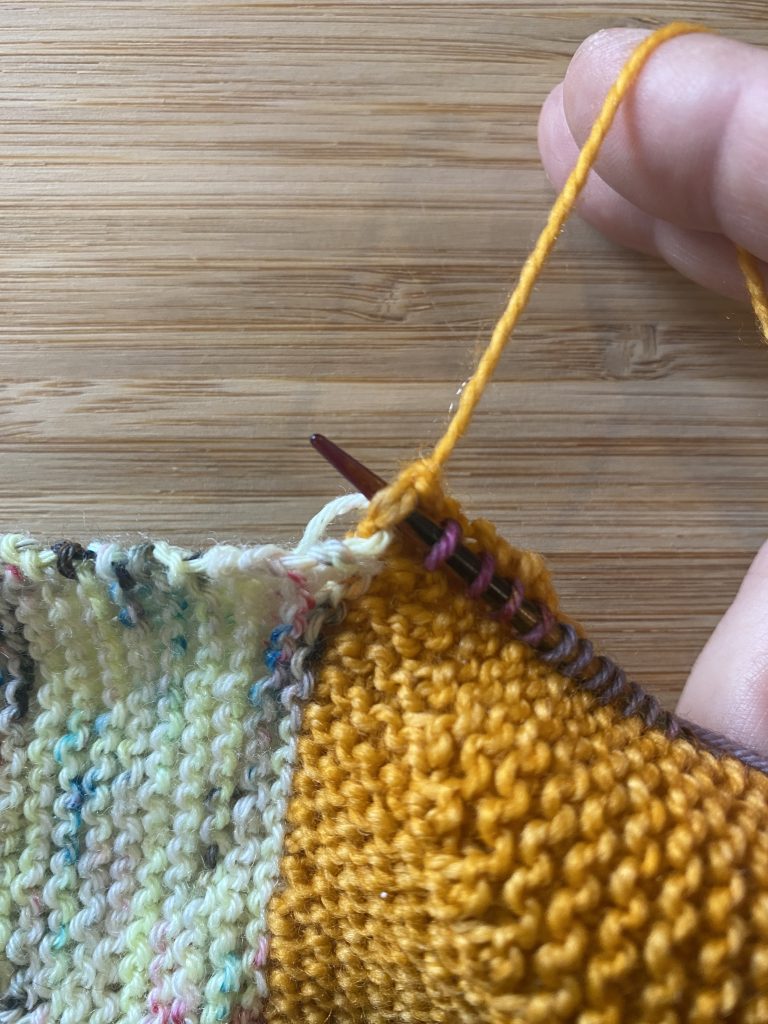
Pull the tail from the block below and you’ll see the 2-strand V underneath it. That’s our last stitch to be picked up. It will look untidy, but it creates the seamless joins we want in a patchwork blanket.
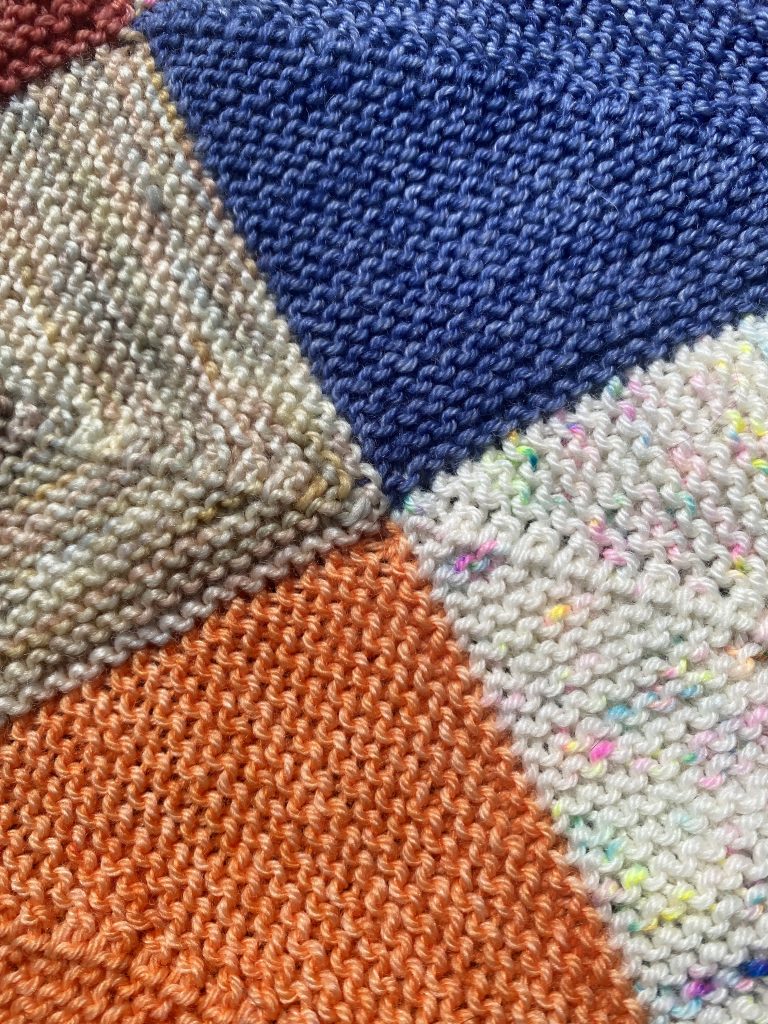
Carry on as you did with the initial block
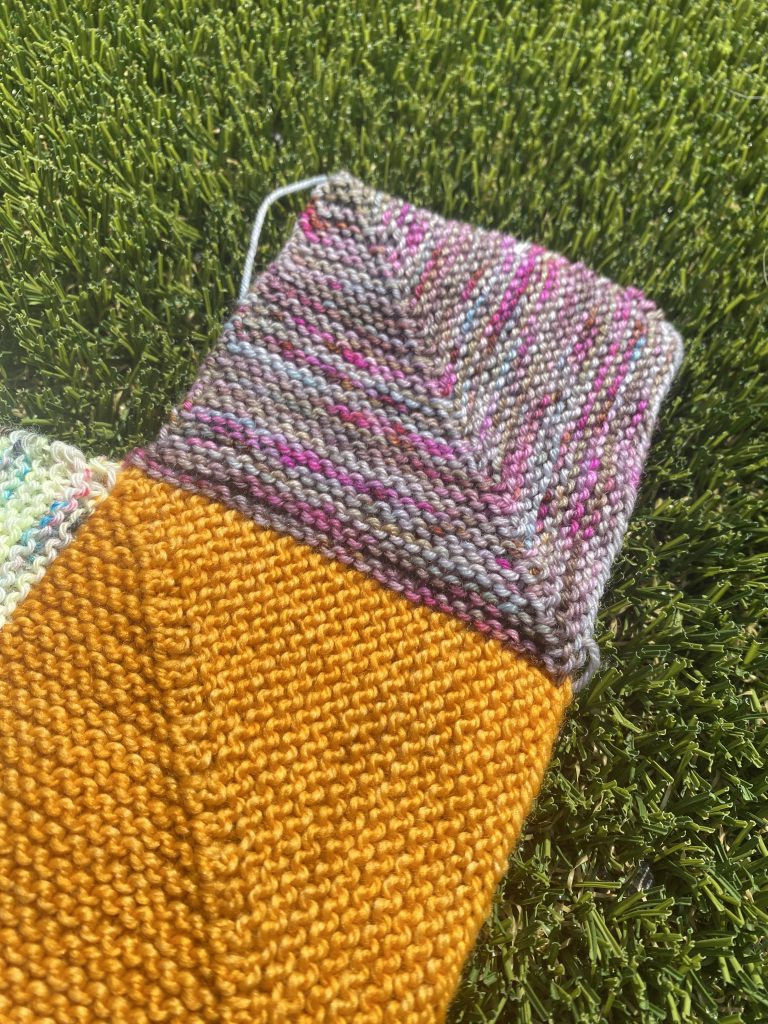
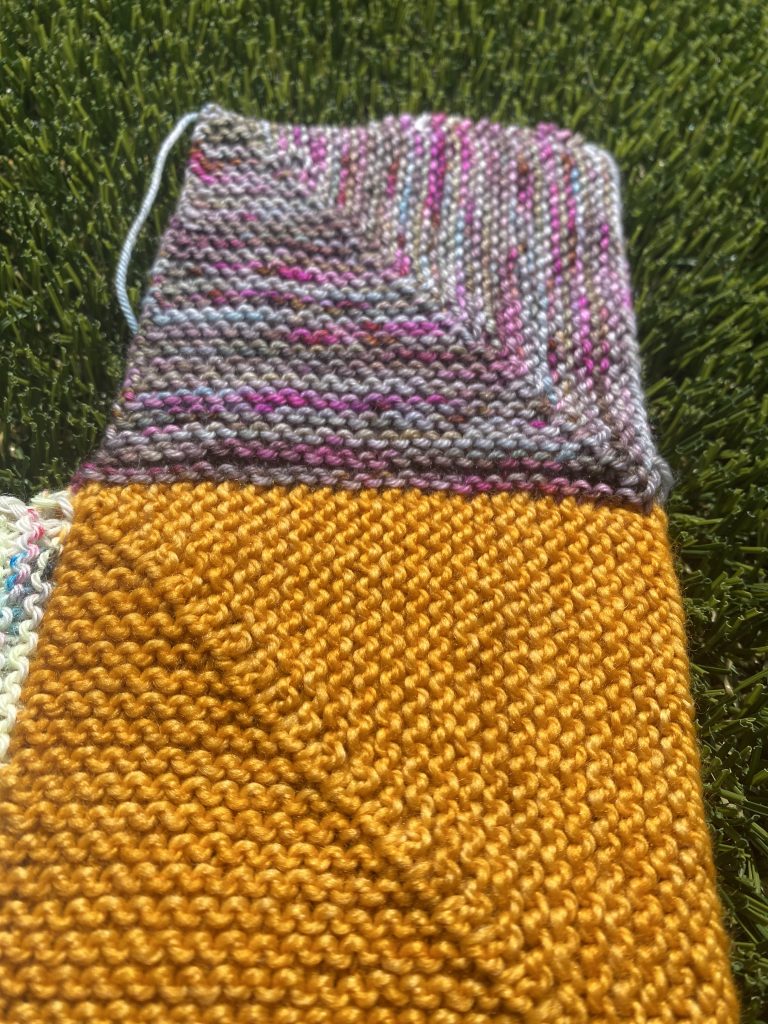
Now that all 51 stitches are on the needle, turn and knit back. Snug the tail from the end of the cast on after you work the stitches near it.
Proceed with working the block as you did in part 1. Knit 24, slip 1 as if to knit, knit 2 together, pass slip stitched over, knit 24. Turn and knit back to the start. Decrease each ‘side’ knit number by 1 for each right-side row.
Fair warning, the first row will not look like you would hope. Persevere! It will work itself out 🙂
Most Importantly
The biggest error you can make in adding a square above is not getting the center stitch pick up right. It HAS to be from that cast on edge for all your squares to line up correctly. If you were to skip that pickup and start from the first space, all your squares will be slowly moving to the left.
Other than that tiny detail, you can be away with your knitting. Adding loads of squares above!
Personally, the square above is a close 2nd for me of my favorites. The inside squares we’ll cover in part 4 are my all time favorite!
Leave a Reply