

More sock magic today! Time to attach the heel flap to the rest of the sock.
I’m using my favorite sock method, MagicLoop, and will show how I arrange the stitches. If you’re a fan of DPNs or short circulars, you can still adapt the pattern using your preferred method.
I’m walking through the steps individually for beginners. And for experienced sock knitters, it’s always good fun to see how others work through the steps.
First things first, my tools ~ I use magnifying readers for this part thanks to my aging eyes… and 2 little stitch markers.
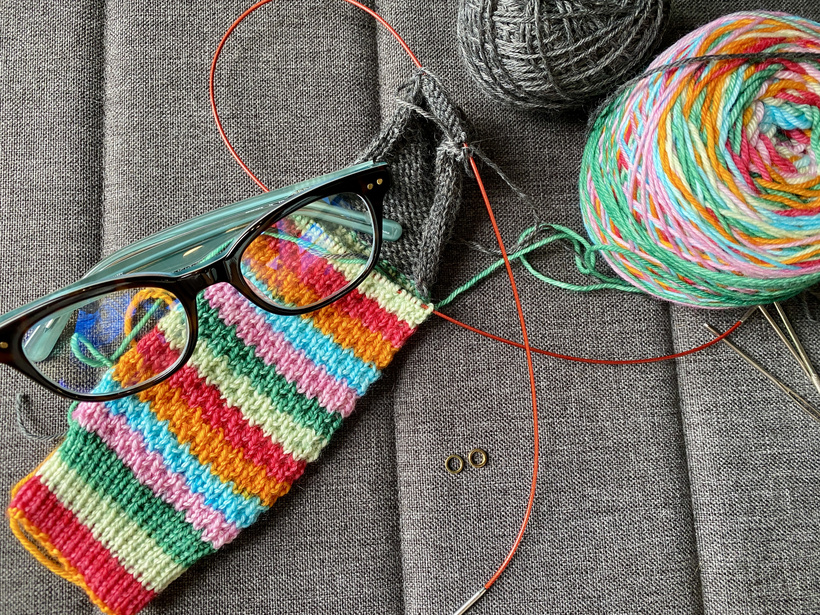
Joining the heel flap to the sock
Pick up and knit 14 (16, 18) stitches along the edge of the heel flap
Unroll the heel flap if it’s curled in on itself and find the row of Vs at the very edge. Skip the first baggy stitch. I’ve marked the first 3 places to pickup and knit a stitch in the photo below.
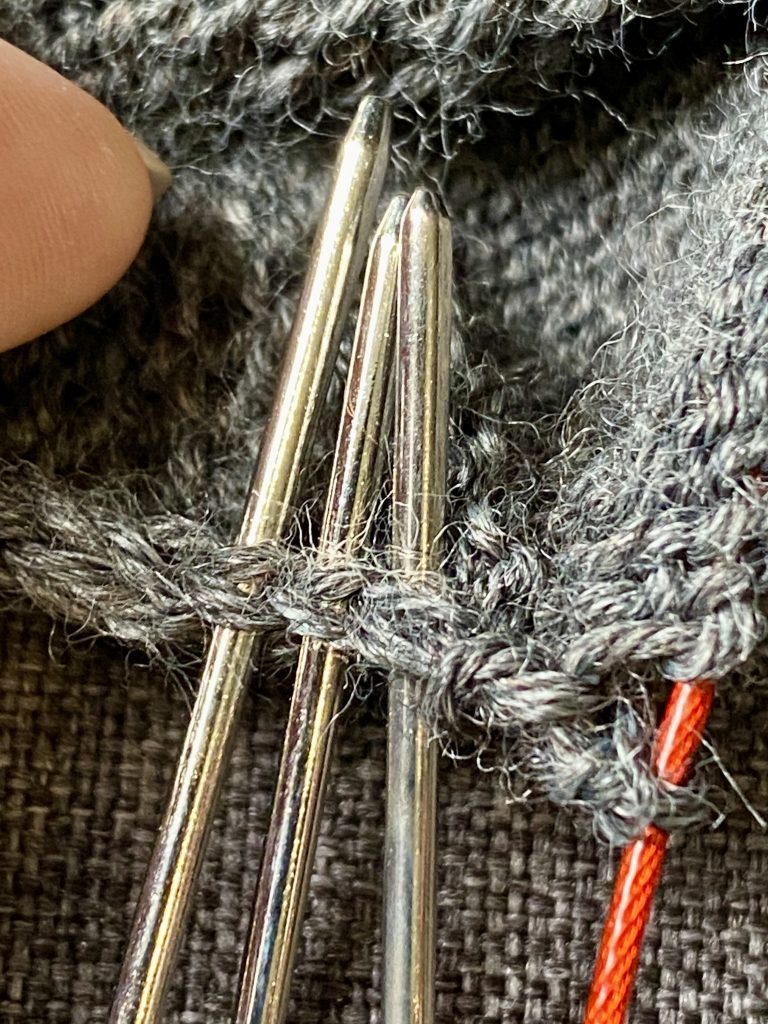
Contrast Color: The last stitch to pick up is the main color. Use the contrast color to pick up and knit the final stitch. Break contrast yarn, leaving a tail to weave in, and continue with main color.
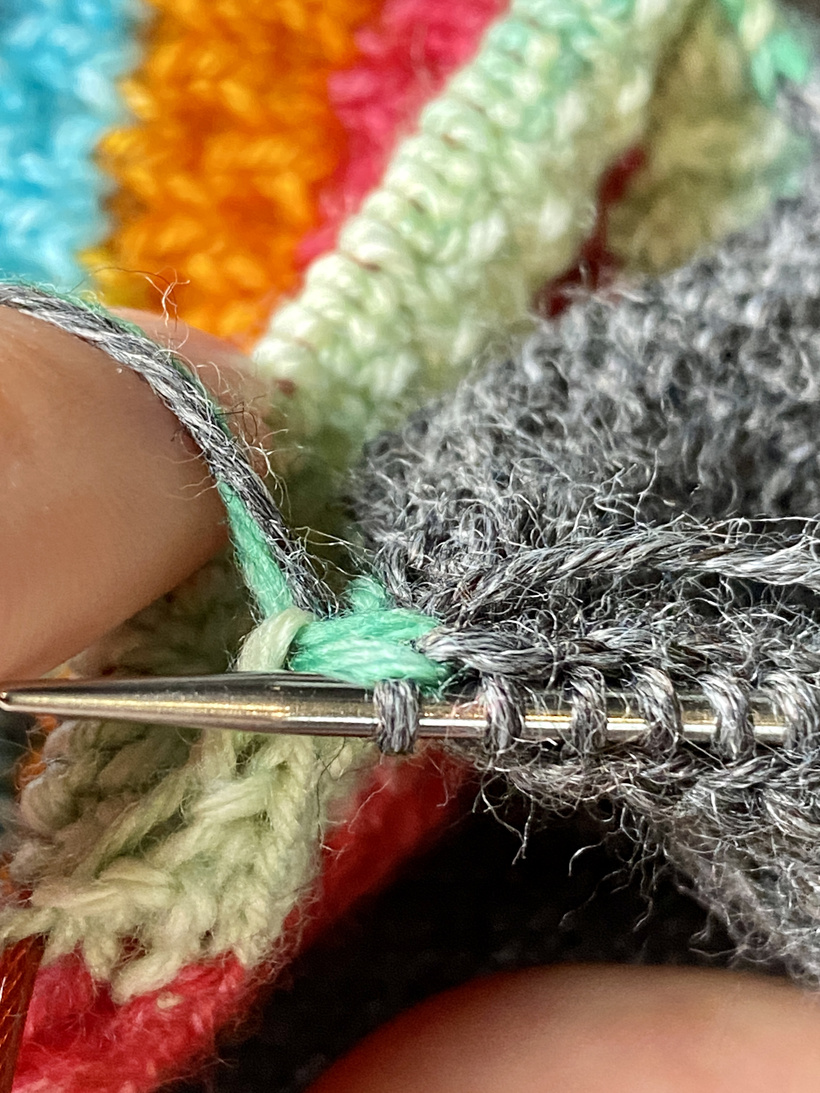
Pick up and knit 2 more stitches to close the gap at the join. 1 stitch is picked up in the V directly below the previous stitch, the 2nd stitch is picked up below that. Find a place to insert the needle with 2-3 bars over it so there’s no noticeable hole.
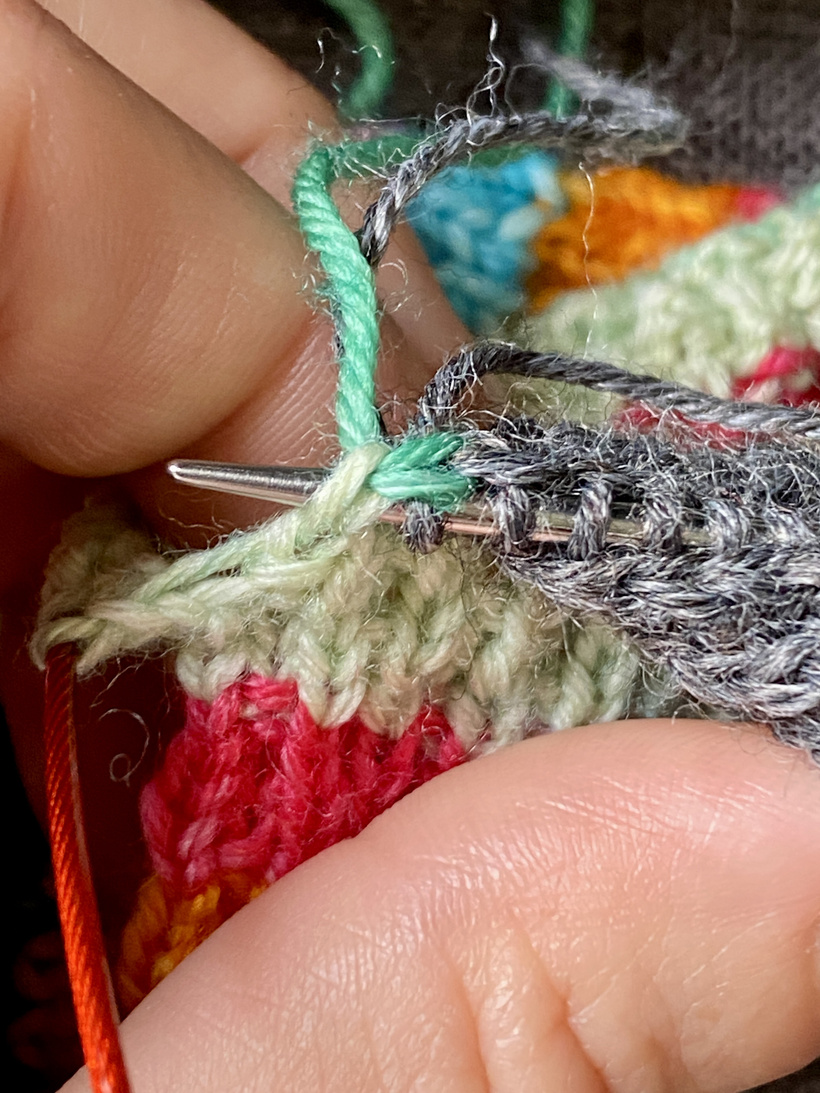

Reorganize the stitches to work from the side.
This is how it looks on the needles now – one side of the heel is the needle, the front is on the cable, and the other side of the heel flap is unattached.

Find the center of the front stitches. 14 (16, 18) in from the end. Bend the cable slightly and pull it through.
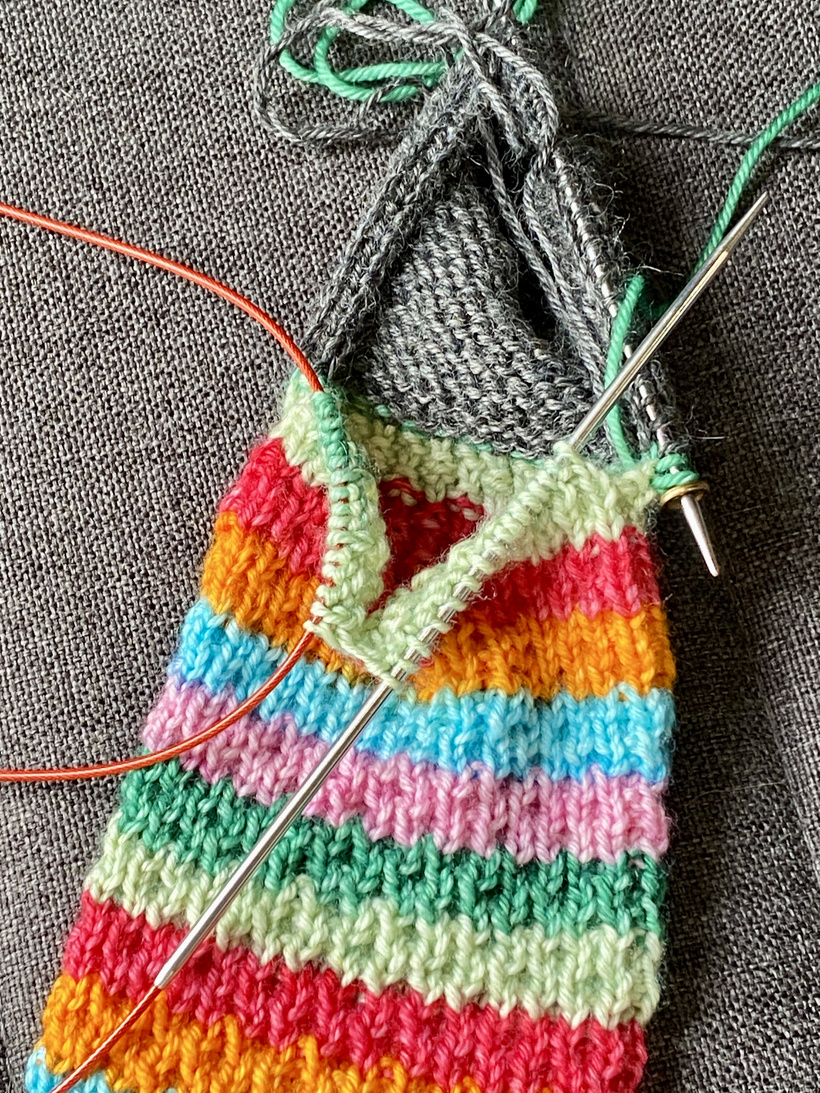
Place a stitch marker between the picked up stitches and the front.
Continue the pattern across the front stitches.
One needle now has the heel stitches, the left gusset, and half the front on it.

Work the second side the same as the first, but in reverse!
Continue pattern across front stitches.
Place stitch marker.
Pick up and knit 2 extra stitches (below the row of slipped stitch Vs) to close the gap at the join.

Continue to pick up and knit 14 (16, 18) stitches along the side of the heel flap.
Find the center of the heel stitches and pull the cable through just as was done for the front.

Knit across half the heel stitches – 5 (6, 7) stitches.
Pull the cable through and align the sock to be worked sideways.
The stitch markers separate the front stitches from the gusset and heel. The pattern will continue across the front while decreasing the gusset to the original stitch count.

This first round is a set-up round for the gusset. It tightens up and aligns the picked up stitches before starting to decrease.
Knit the heel stitches normally – knit picked up stitches through the back loop – knit the 2 extra stitches normally – continue pattern across front.
That’s it in summary, or how I remember it at least. Here’s how it’s written out in my patterns.
k5 (6, 7), ktbl 14 (16, 18), k2, sm, work pattern to marker, sm, k2, ktbl 14 (16, 18), k5 (6, 7)
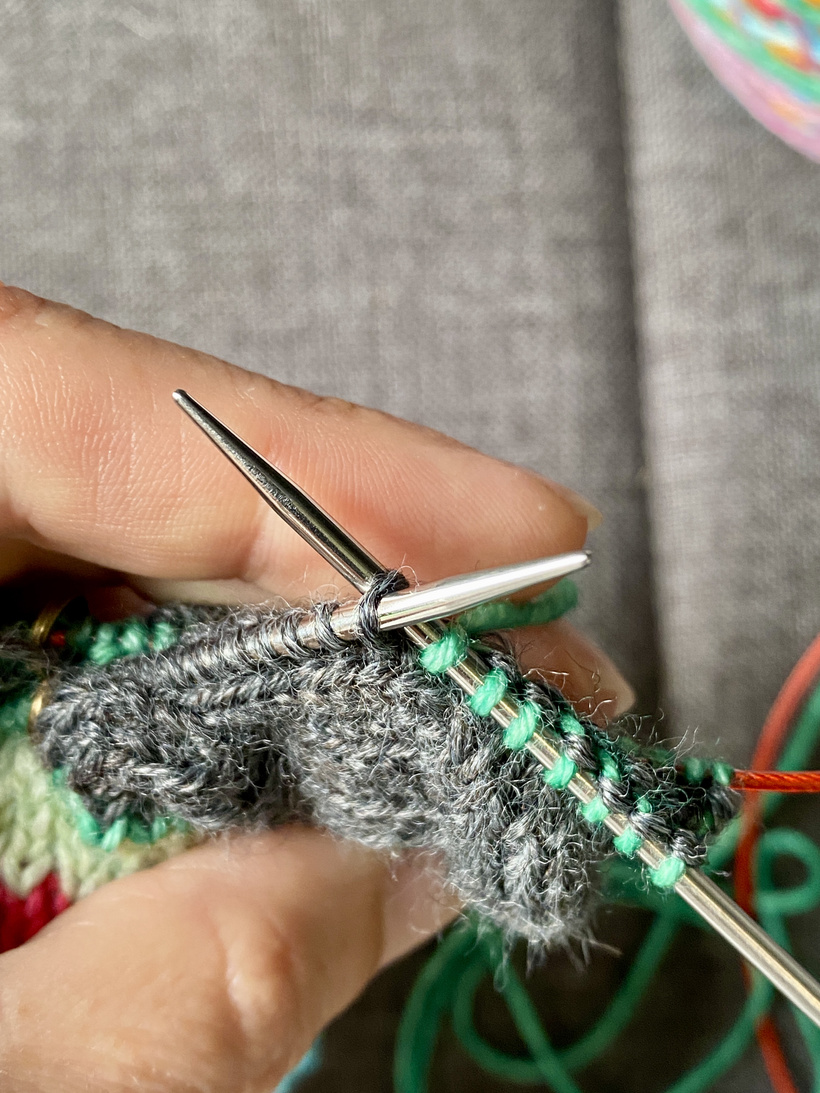

Gusset Decreases
- knit to 3 sts before marker, k2tog, k1, sm, work pattern to marker, sm, k1, ssk, knit to EOR
- knit to 2nd stitch after 2nd marker, k1tbl, knit to end
Knitting the previous ssk stitch through the back loop tidies it up and makes for a neat row of decreases to match the k2tog side.
Read the stitches without using a row counter.
I don’t use a row counter for my decreases. It’s easy to see if it’s a decrease round or a knit round by looking at the ssk stitch.
A ssk looks different than the rest. If it looks like this – the next round is a knit round
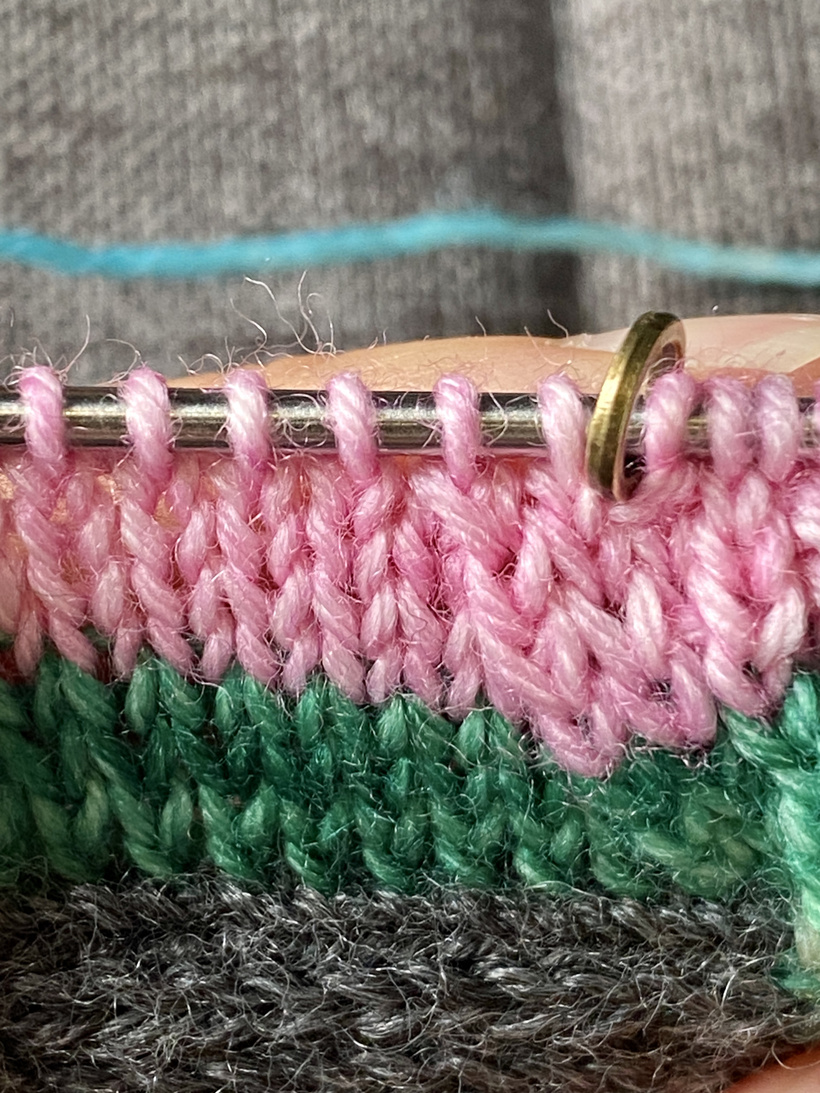
If it looks like this – the next round is a decrease round.

Continue working decreases until back to the original stitch count.
14 (16, 18) stitches on either side of the stitch marker
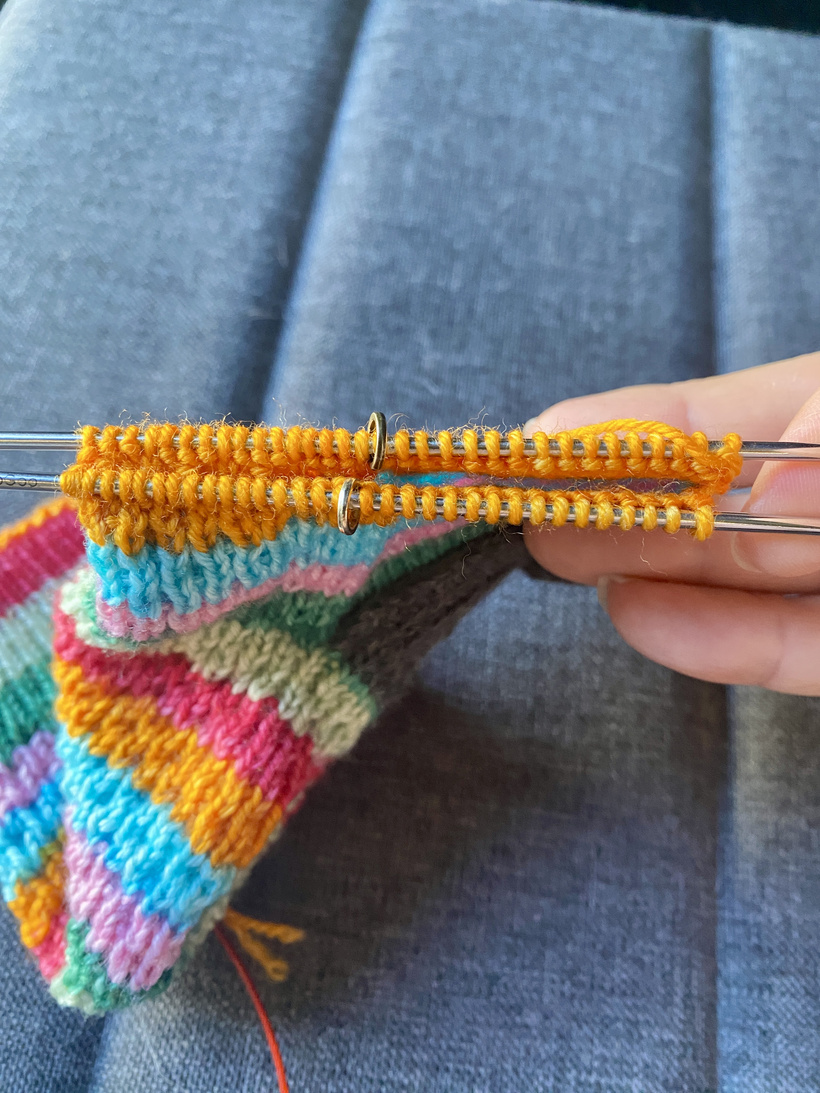
I love this part! It’s looking a lot more like a sock now and the stitches along the pick up are neat and tidy.

Keep up with everything going on – Join the Socks & Sweaters Community on Patreon – I’d love to see you there 🙂
~Lisa
Leave a Reply