

Knitting the foot of the sock is fun and not at all complicated. Continue the pattern across the front stitches and knit all the back stitches. The first step is organizing the stitches on MagicLoop to be front and back, not side to side anymore.
Reorganize the stitches to Front and Back of the sock
After the gusset decreases are done, the sock is still positioned sideways on the needles.
Knit to the 1st marker and remove the marker (it won’t be used anymore).
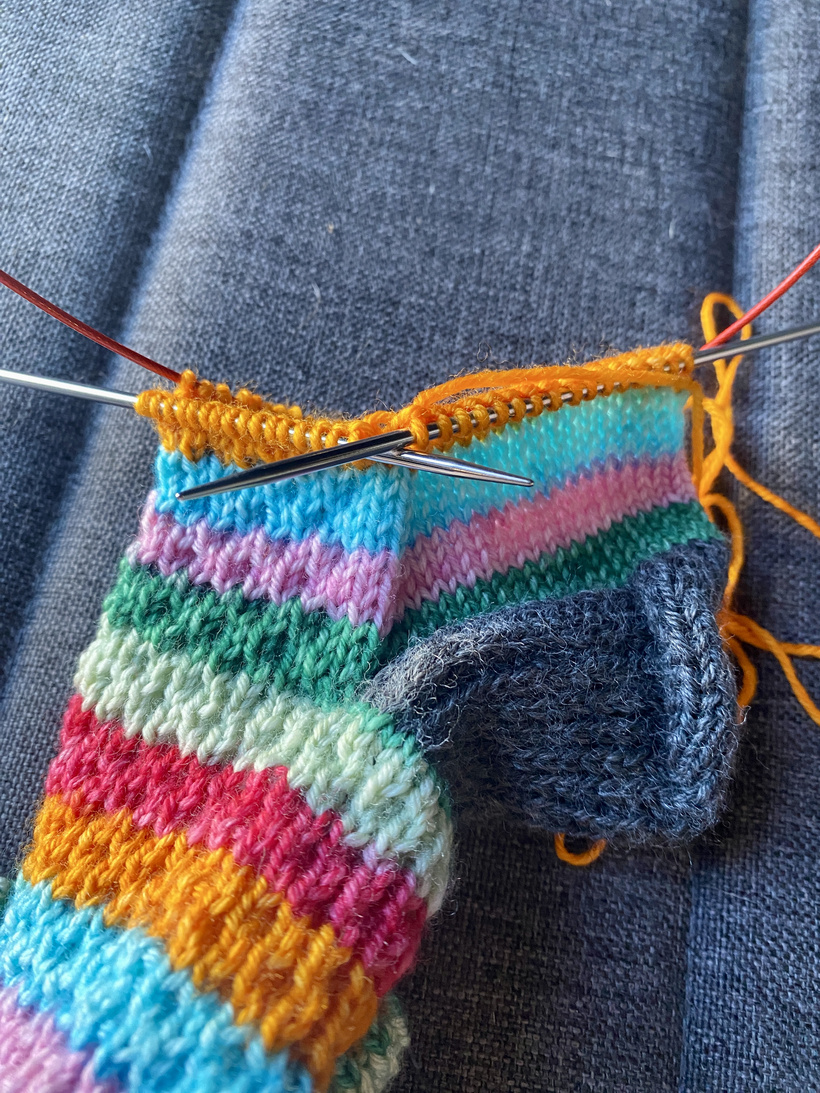
Pull the cable all the way through so all the stitches are together.
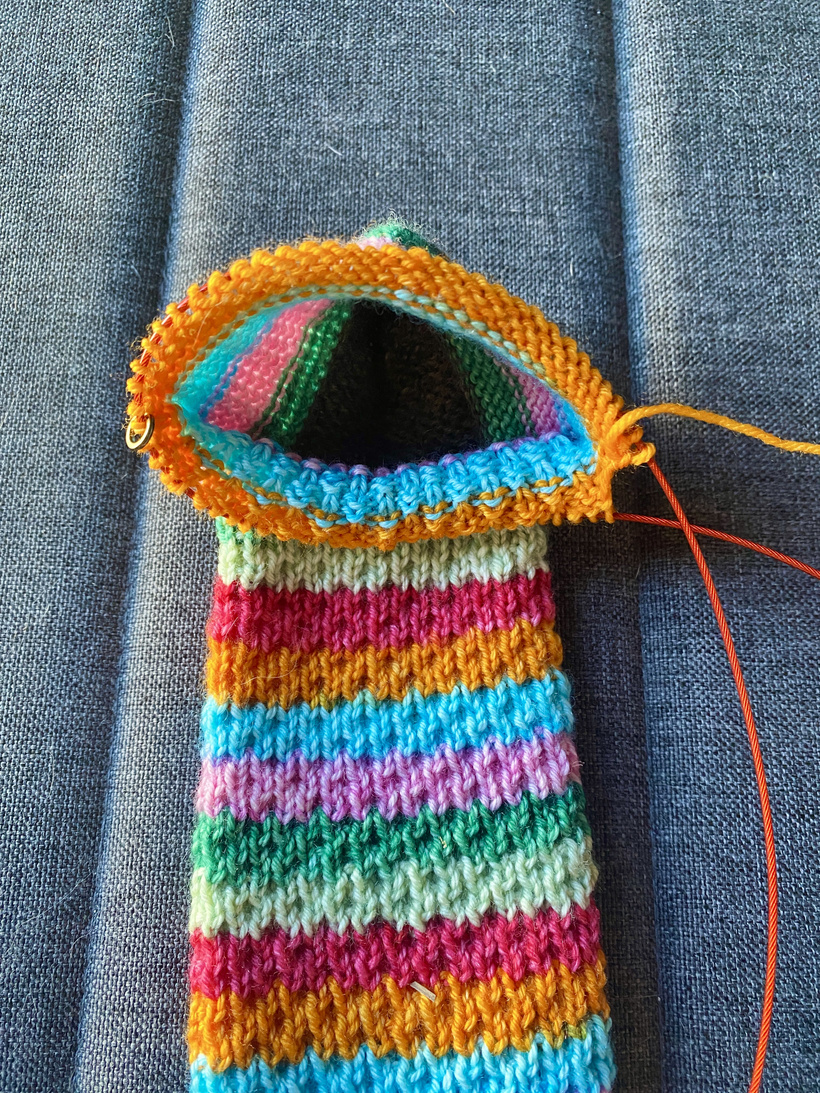
Grab onto the 2nd marker and pull the cable. The sock is now organized to have the Front on one needle and the Back on the other.
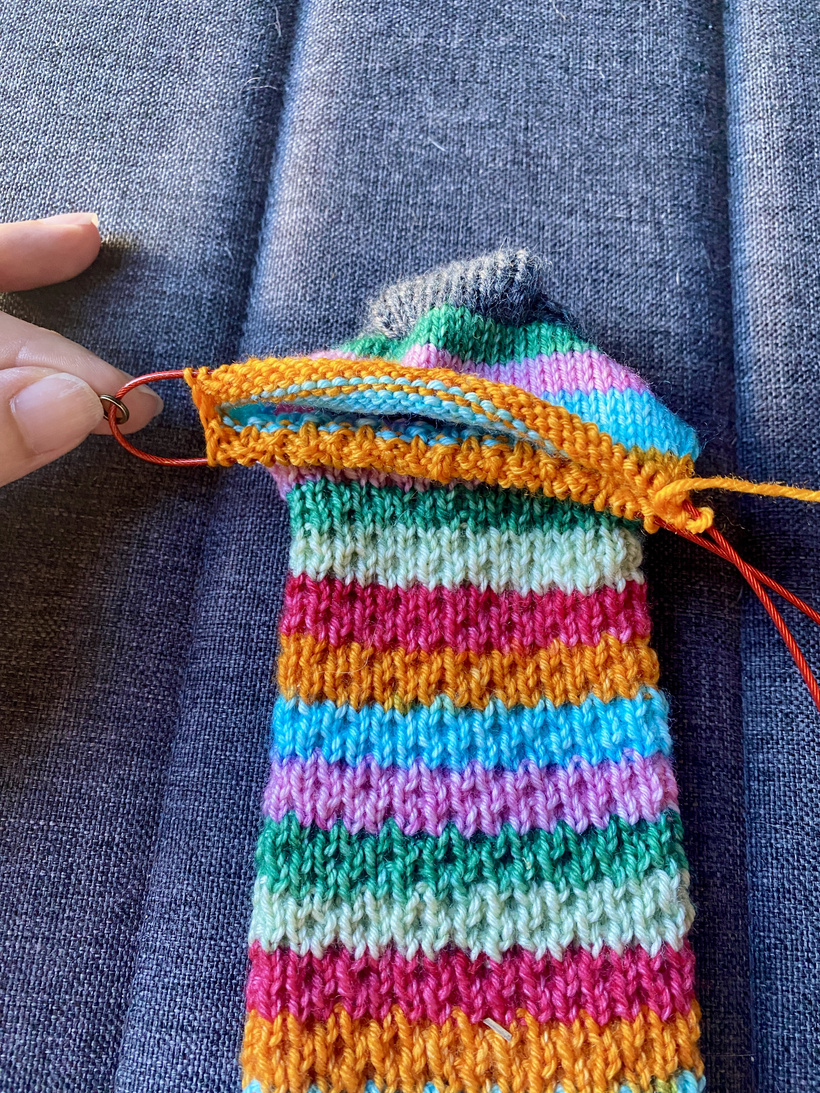
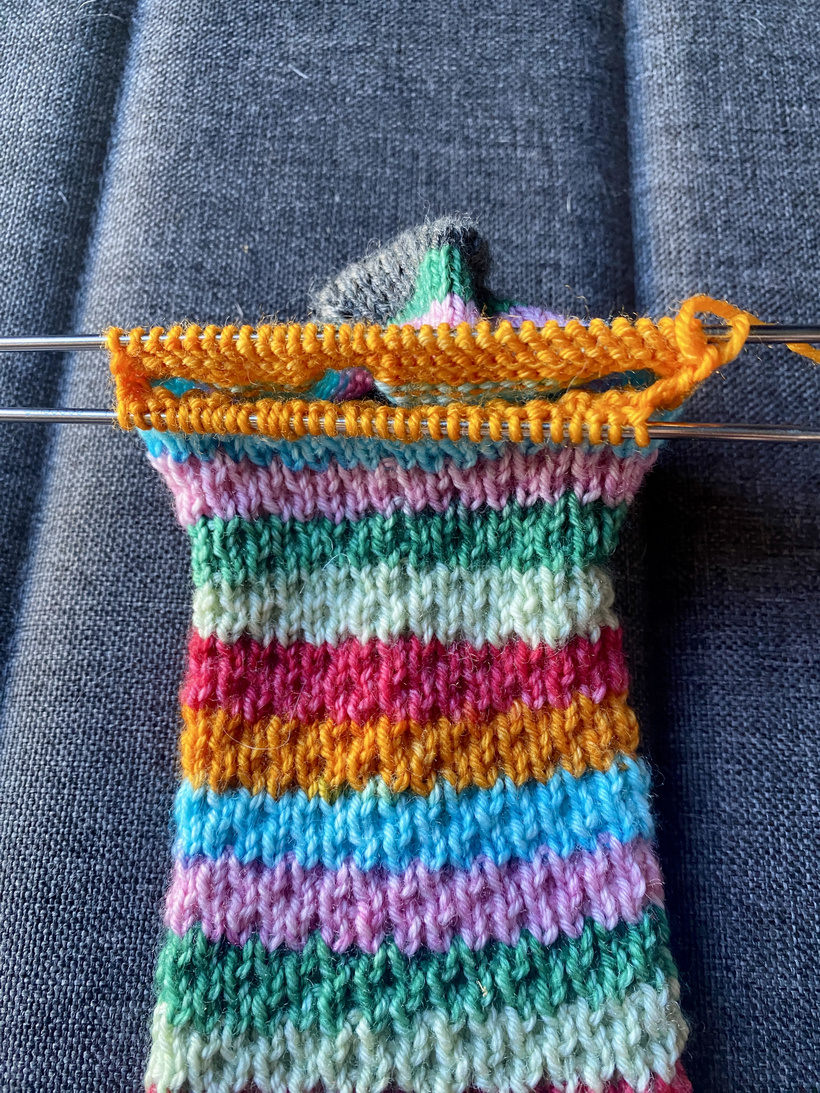
Continue with the pattern on the front and Knit all stitches on the back (bottom of the foot).
Make sure to remove the 2nd stitch marker after working across the front!
Mark the first round as the “start of the foot” by placing a removable stitch marker on the back stitches. It makes it easy to count the number of rounds worked.
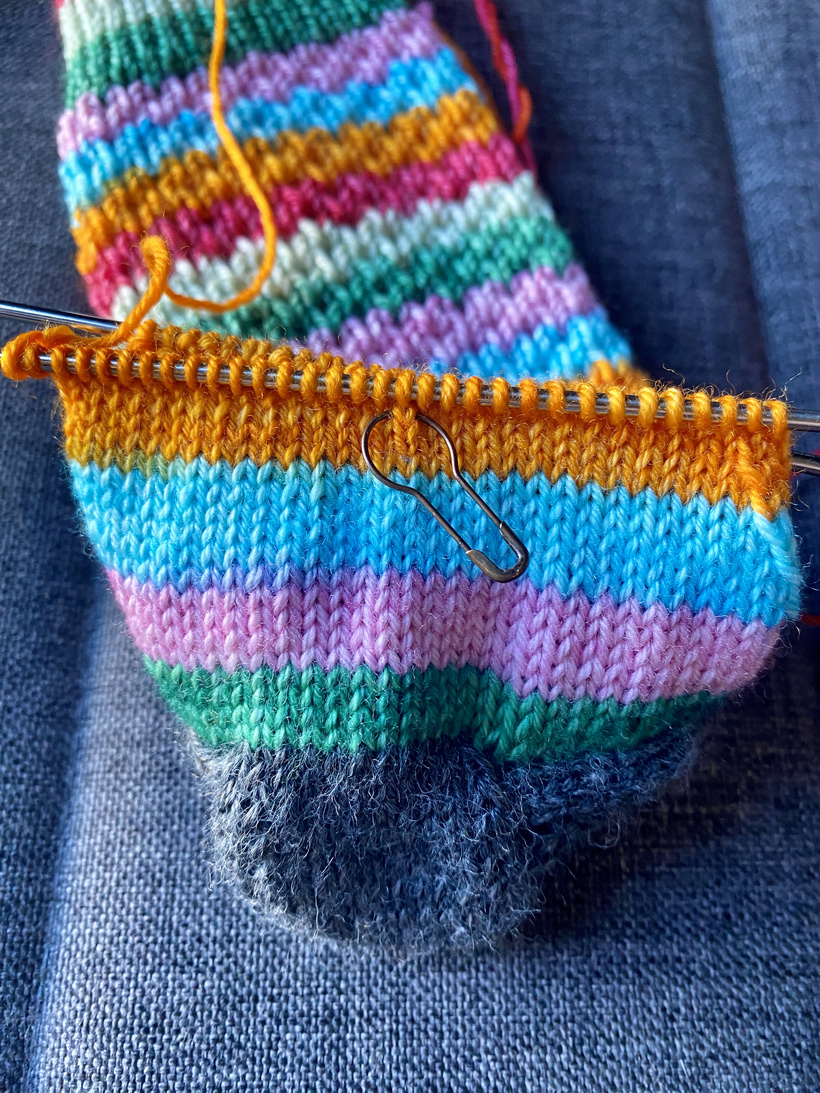
An advantage to working socks Top-Down is that they can be tried on to make sure the foot length is just right. I work 46-50 rounds for my foot.
Since I’m using self-striping yarn, I completed a full stripe color before ending. There are a few back stitches in the darker green, but that’s okay!
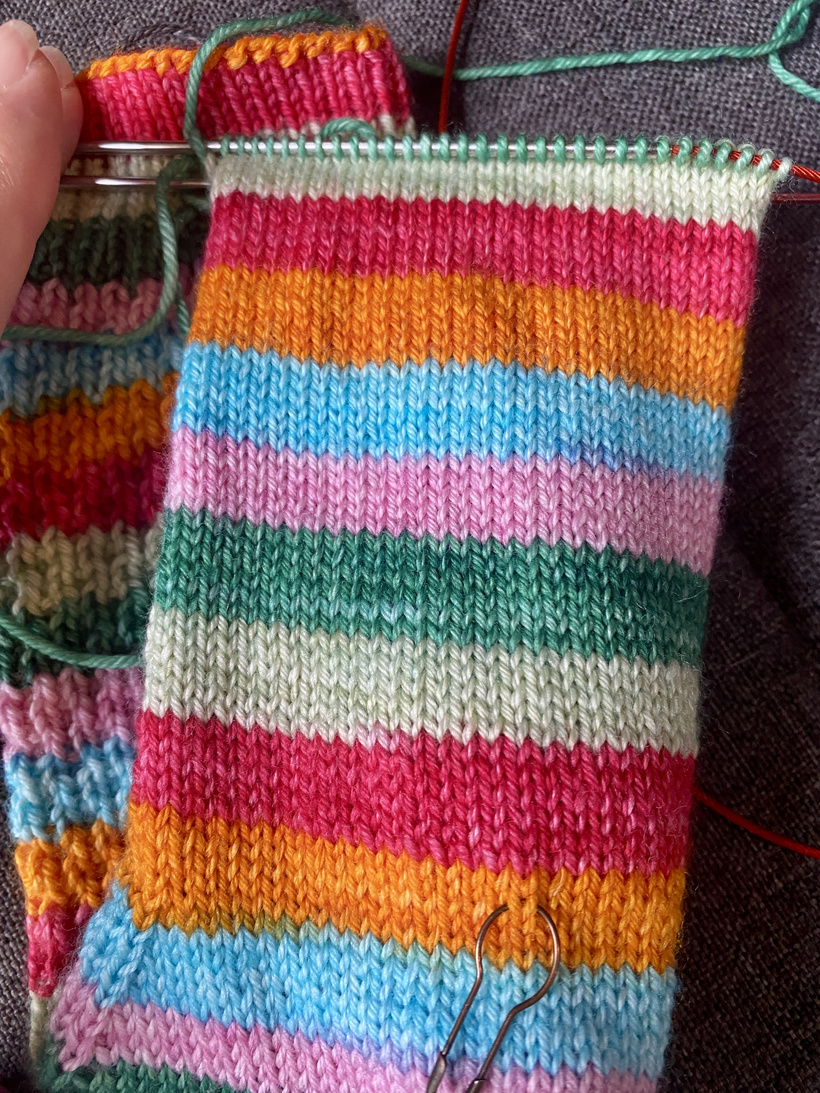
When the foot is the right length, the front pattern can end on any round.
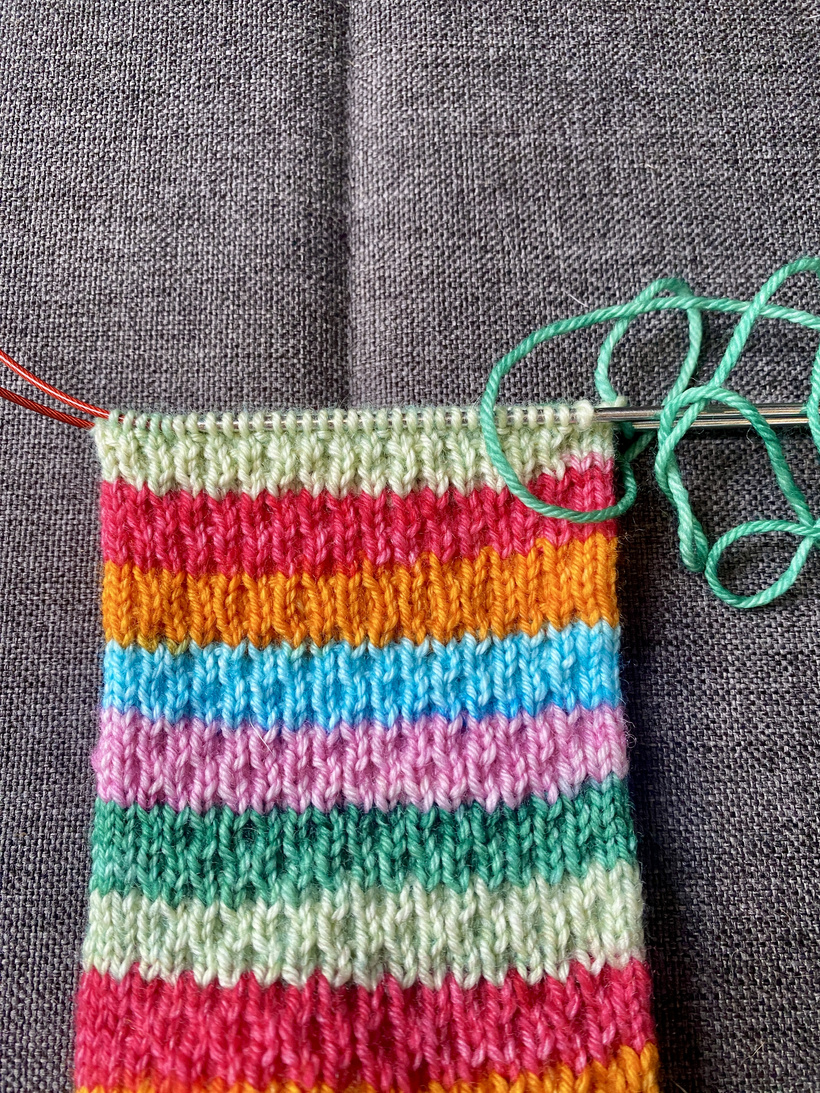
I like the side view of a textured sock. It’s fun to see the pattern meet up with the smooth stockinette, especially with striping yarns.
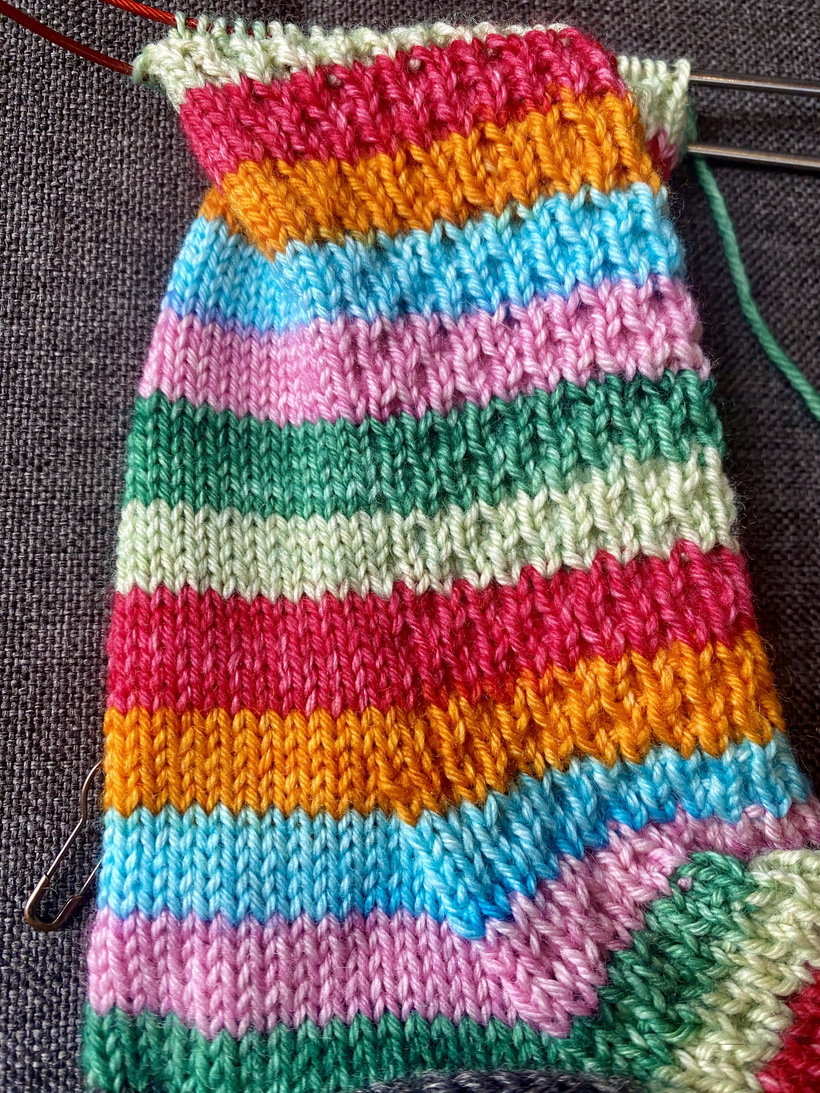
I hope you enjoy knitting the foot!
Happy Knitting ~Lisa
Join the Socks & Sweaters Community on Patreon – I’d love to see you there 🙂
Leave a Reply